
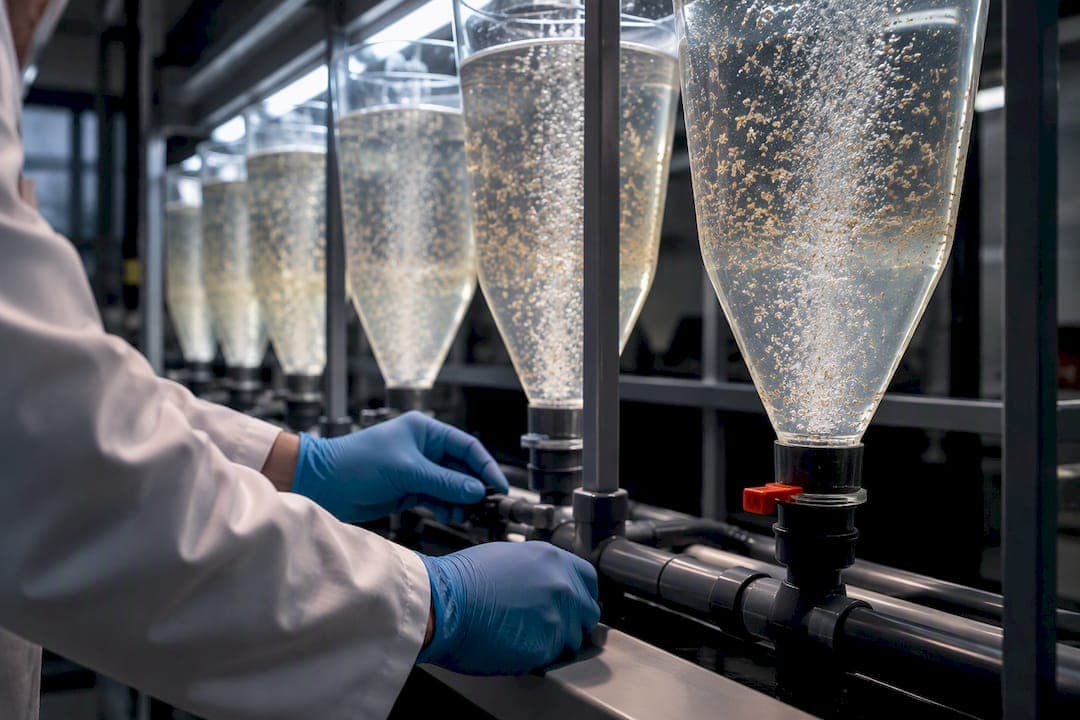
Brine shrimp are the right live feed for zebrafish at every life stage from first-feed larvae through breeding adults, and the single parameter that determines success is hatch temperature: 25 to 28 degrees Celsius with thorough rinsing before any nauplii reach a tank. Decapsulated cysts are the preferred choice in most institutional labs once a protocol is running.
TL;DR:
- Hatch brine shrimp cysts reliably at 25 to 28 degrees Celsius with continuous aeration and light, avoiding lower temperatures that slow hatch rates.
- Rinse nauplii thoroughly after harvest to remove salt, ammonia, and bacteria, preventing stress or health issues in zebrafish larvae.
- Use decapsulation to reduce pathogen load, eliminate shell ingestion, and enable longer storage in saturated brine at 4 degrees Celsius.
- Choose smaller San Francisco Bay cysts for early-stage larvae with narrow mouth gape, although Great Salt Lake cysts are more widely available.
- Maintain a consistent setup with dedicated equipment, standardized procedures, and proper waste disposal to ensure reliable, high-quality cultures.
Table of Contents
- Hatching recipe and step-by-step setup for cones or small hatcheries
- Collecting, rinsing, and removing hatch water
- Decapsulation: lab-safe steps, neutralization, and storage
- Enrichment and nutritional guidance for older larvae
- Strain selection and size considerations
- Feeding schedules, dosing rules, and avoiding water-quality problems
- How farmed, microalgae-fed Artemia fits lab needs
- Storage recommendations for cysts and hatched nauplii
- Lab equipment and setup for reproducible hatching
- Safety and disposal protocols for culture waste
- Daily habits that separate a clean culture from a problem one
- Where to source consistent Artemia for lab supply
- Sources
- FAQ
Hatching recipe and step-by-step setup for cones or small hatcheries
Brine shrimp cysts hatch reliably when the water sits between 25 and 28 degrees Celsius (77 to 82 degrees Fahrenheit), with salinity held at 25 to 35 parts per thousand. Constant light and vigorous aeration from the bottom of the vessel keep cysts suspended and oxygenated through the full hatch window, which typically runs 18 to 36 hours. You can find more granular temperature guidance for hobby-scale hatching setups if your facility runs smaller batches.
Cyst stocking density matters more than most technicians expect. Non-decapsulated cysts should go in at 2 grams per liter, while decapsulated cysts, which shed their shells before hatching, tolerate densities up to 5 grams per liter. Buffer the water toward pH 8.0 to 9.0 with sodium bicarbonate, since Artemia hatch poorly in acidic conditions. Detailed water chemistry numbers for buffering and salinity are covered in this water parameters guide.
A working cone setup looks like this:
- Use a 1 to 2 liter inverted cone or cylindroconical hatcher with a clear bottom to monitor cyst movement.
- Place a rigid air stone at the apex of the cone so bubbles carry cysts in a continuous rolling motion.
- Position a lamp or LED strip within 6 inches of the cone for constant illumination during the hatch.
- Start a timer at inoculation and check for free-swimming nauplii at the 18-hour mark, then again at 24 and 36 hours.
Collecting, rinsing, and removing hatch water
Once nauplii are swimming, three harvest methods work in most lab settings: letting shells and unhatched cysts settle before draining the bottom layer, draining through a spigot directly into a harvest bag, or pouring the culture through a fine sieve. Mesh size in the 105 to 125 micron range captures nauplii while letting shell fragments and debris pass or stay behind, depending on the setup.
- Drain or sieve the culture into a clean vessel, separating nauplii from hatch water and shells.
- Rinse the collected nauplii three to five times with system water or E3 embryo medium to strip residual salt and metabolites.
- Inspect a small sample under a microscope to confirm nauplii are actively swimming before adding them to any tank.
Rinsing is not optional. Leftover hatch water carries salt, ammonia, and bacterial load that can stress zebrafish larvae directly. A rinsing walkthrough covers the exact sequence step by step. Reject a batch and start a new hatch if the live percentage under the microscope looks low or nauplii are sluggish rather than swimming.
Pro Tip: Rinse over a sieve nested inside a second, empty container so you can catch and reuse system water without losing nauplii down the drain.

Decapsulation: lab-safe steps, neutralization, and storage
Decapsulation strips the chorion shell from brine shrimp cysts before hatching, and institutional labs favor it for three reasons: it eliminates shell ingestion by larvae, it reduces pathogen load carried on cyst surfaces, and it allows the treated cysts to be stored ready-to-use rather than hatched fresh every day. The Chen Laboratory's zebrafish facility documents a stepwise version of this process in its standard operating procedures.
- Hydrate dry cysts in fresh or salt water for one hour before treatment.
- Expose hydrated cysts to a measured bleach solution, watching for the color shift from brown to orange to white that signals shell removal.
- Rinse thoroughly and neutralize any remaining bleach with sodium thiosulfate.
- Store decapsulated cysts in saturated brine at 4 degrees Celsius, where they stay viable for weeks to months.
- Test hatch rate on a small batch before scaling a new lot to full production.
Avoid over-bleaching. Cysts left in bleach too long lose viability even though the shell removal looks complete, so timing the exposure and rinsing promptly afterward protects the batch.
Enrichment and nutritional guidance for older larvae
Freshly hatched nauplii carry usable protein but are naturally low in DHA and other highly unsaturated fatty acids, since they are still living off the yolk sac reserves from the cyst. Enrichment closes that gap before nauplii reach the tank.
A standard enrichment workflow runs 12 to 24 hours, with a commercial enrichment product dosed at roughly 0.5 milliliters per liter at the start of the window and again about two hours before harvest. Keep aeration vigorous and temperature stable throughout, since enrichment products settle quickly without constant movement.
- Enrich only when feeding older larvae or broodstock that benefit from added HUFA content.
- Harvest enriched Artemia before they grow too large for the target fish's mouth gape.
- Chill enriched nauplii only briefly before feeding, since prolonged cold storage degrades the enrichment.
Enrichment matters because freshly hatched nauplii are low in DHA immediately after hatch, which is why labs raising larvae past the first week typically add an enrichment step rather than feeding straight nauplii throughout. Full timing guidance is available in this enrichment reference.
Strain selection and size considerations
Great Salt Lake and San Francisco Bay are the two Artemia sources most labs encounter, and the difference that matters most is size. San Francisco Bay cysts and nauplii run 20 to 30 percent smaller than Great Salt Lake stock, a gap that shows up most clearly after the first 48 hours of growth rather than immediately at hatch.
- Choose smaller San Francisco Bay nauplii for the youngest larvae with the narrowest mouth gape.
- Great Salt Lake cysts remain the more widely available option for general lab use.
- Nutritional content varies by strain and harvest lot, which is one reason enrichment protocols exist regardless of source.
- Source cyst lots with documented quality control, or use farmed Artemia, to reduce the seasonal variability wild harvests carry.
Feeding schedules, dosing rules, and avoiding water-quality problems
Feeding cadence changes with life stage. Larvae typically get one daily feeding of fresh nauplii alongside a microdiet offered twice a day, following the benchtop nursery regimen that supported strong survival in trials. Juveniles move to two or three feedings daily, and adults settle into one or two feedings with occasional dry supplements.
- Feed only what fish will consume within about 10 minutes to prevent uneaten nauplii from decomposing in the tank.
- Use a volume heuristic such as about 9 milliliters from a squirt bottle for 20 adult fish, adjusting from there by observation.
- Time nauplii collection so it happens shortly before the feeding window, which limits mortality in the culture itself and keeps waste out of the system.
Pro Tip: Pair every feeding with a scheduled partial water change or siphon pass rather than feeding on a separate clock, so uneaten food never sits in the tank overnight. A full weekly and daily checklist is laid out in this feeding schedule reference.
How farmed, microalgae-fed Artemia fits lab needs
Wild-harvested cysts vary by season and by the starvation conditions shrimp face in natural salt lakes before harvest, which shows up downstream as inconsistent nutritional content from lot to lot. Demeter Biosciences raises brine shrimp in land-based systems fed exclusively on the microalgae Dunaliella, and states its Artemia carry at least 40% protein content as a controlled, consistent figure rather than a seasonal average.
- Land-based cultivation removes the seasonal starvation swings common in wild salt-lake harvests.
- A single algae-fed diet supports a more predictable protein profile across shipments.
- Subscription and bulk institutional options may suit labs that need recurring supply without re-sourcing cysts each cycle.
- Reduced on-site decapsulation and hygiene burden matters for high-throughput facilities running tight reproducibility standards.
Storage recommendations for cysts and hatched nauplii
Dry, unhatched cysts store well in a cool, dark, airtight container and remain viable for extended periods when kept away from moisture and heat. Once opened, keep the container sealed between uses and avoid repeated temperature swings, which shorten shelf life faster than steady cold storage does.
Decapsulated cysts behave differently once treated. Stored in saturated brine at 4 degrees Celsius, they stay viable for weeks to months, which lets a lab keep a ready reserve instead of running a fresh decapsulation batch every day. Label containers with the treatment date so older stock gets used first.
Hatched nauplii are a different matter entirely: they are a living culture, not a shelf-stable product. Freshly hatched, unenriched nauplii are most nutritious immediately after hatching and lose nutritional value the longer they sit, so the practical rule is to hatch on a schedule that lands nauplii in front of fish within hours rather than holding them overnight. If a feeding window slips, a brief chill can slow metabolism and buy a little time, but it is not a substitute for hatching closer to the feeding schedule. Enriched nauplii follow the same logic on a tighter clock, since the added HUFA content degrades faster than the shrimp's baseline nutrition.
The practical takeaway for any lab running daily feedings is to treat cyst storage and nauplii storage as two separate problems: cysts are the long-term inventory, nauplii are the perishable product made fresh on a cycle tied to the feeding calendar.
Lab equipment and setup for reproducible hatching
A functional Artemia hatching station does not require much equipment, but consistency depends on using the same setup every cycle rather than improvising.
Core equipment includes a cylindroconical hatching cone or a straight-sided cylinder with a drainable bottom, sized to the lab's daily volume needs, typically 1 to 2 liters for a small zebrafish facility and larger vessels for high-throughput operations. An air pump feeding a rigid air stone positioned at the lowest point of the vessel keeps cysts in constant motion, which is critical since settled cysts hatch poorly or not at all. A continuous light source, either an LED strip or a small lamp, sits close to the hatching vessel since Artemia cysts require light to hatch efficiently.
Beyond the hatcher itself, labs need a harvest sieve or mesh screen in the 105 to 125 micron range, a set of clean rinse containers, a refractometer or salinity meter to confirm the 25 to 35 parts per thousand range, a thermometer or temperature-controlled water bath, and a basic microscope for live-count QC checks before feeding. For decapsulation work, add household bleach, sodium thiosulfate for neutralization, and a timer for monitoring the color change during treatment.

Setup tips that improve reproducibility: label each hatching vessel with the inoculation date and cyst lot number, keep aeration tubing dedicated to a single vessel rather than shared across cones, and standardize on one light position relative to each hatcher so light exposure does not vary batch to batch. A step-by-step equipment and setup walkthrough is available in this feeding station guide.
Safety and disposal protocols for culture waste
Brine shrimp culture waste is low-hazard but still needs a defined disposal routine, particularly around salt content and any chemicals used during decapsulation. Spent hatch water carries salinity in the 25 to 35 parts per thousand range along with unhatched shells and metabolic waste, and pouring it down a standard drain in volume can affect wastewater salinity over time in facilities running multiple daily hatches. Most labs collect spent hatch water separately and dilute it before disposal, following whatever wastewater guidance their institution's environmental health and safety office sets.
Decapsulation waste needs its own handling step. Bleach solution used during shell removal must be fully neutralized with sodium thiosulfate before any of that water reaches a drain, and technicians handling bleach should wear gloves and work in a ventilated area given the fumes bleach produces at working concentrations. Unhatched cyst shells and unused cysts can go into standard solid waste once drained, since they pose no biological hazard on their own.
One waste category deserves particular attention: unhatched brine shrimp eggs that end up in a feeding batch by accident. Imaging work using synchrotron radiation phase-contrast CT has shown that unhatched eggs can rupture and shatter mechanically inside zebrafish intestines, causing digestive stress. That finding is the basis for the standard lab rule of discarding unhatched cysts rather than feeding them, both for fish health and as a matter of routine quality control on every batch before it reaches a tank.
Daily habits that separate a clean culture from a problem one
Schedule every hatch to land nauplii in front of fish within the feeding window, check culture health under a microscope before each feeding, rinse thoroughly every time, and keep decapsulation steps written down rather than memorized. The most common errors are overfeeding, skipping rinses, and mismatching strain size to larval gape.
— Demeter
Where to source consistent Artemia for lab supply
Running a hatching protocol well every day for months is a different problem than running it once. Demeter Biosciences sells live brine shrimp as one-off shipments starting around $17 to $35, offers a monthly membership plan at $25 per month for recurring delivery, and provides bulk ordering for institutions through its bulk order page.
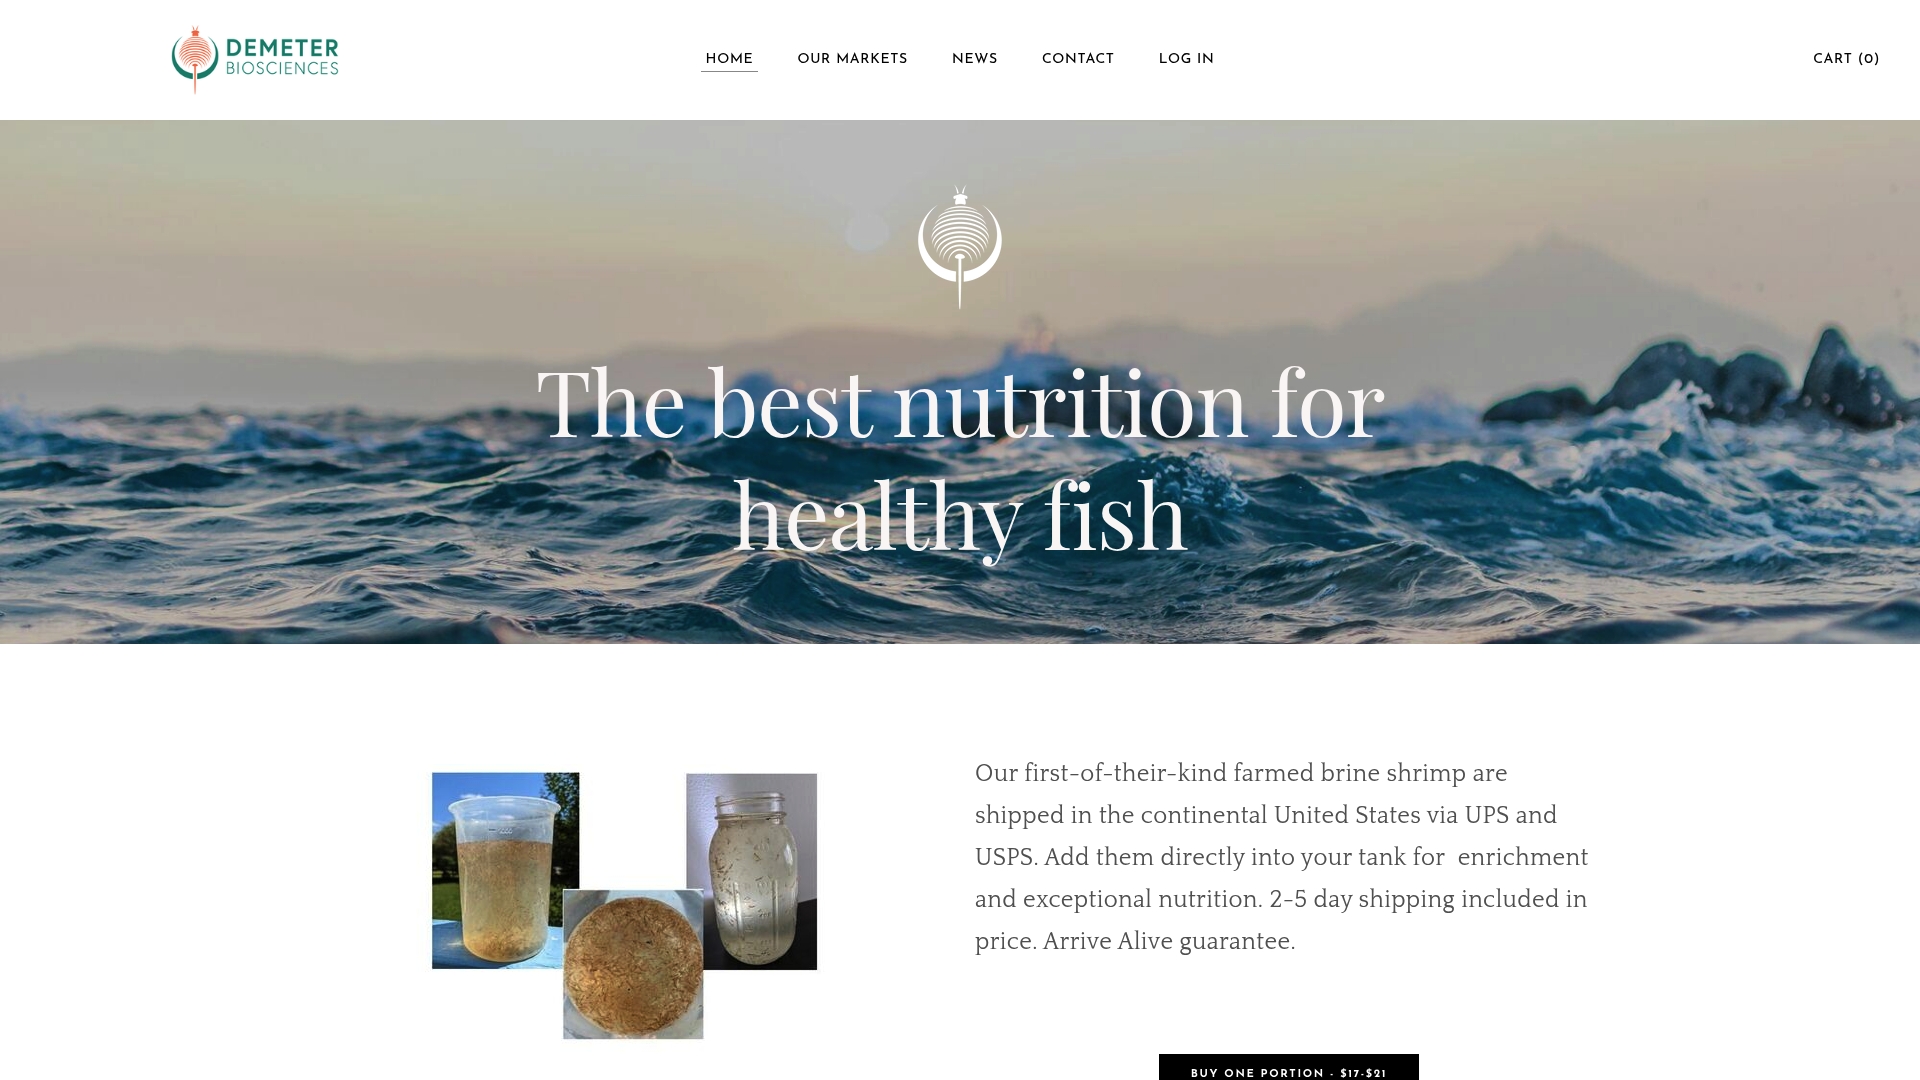
Labs that want to remove seasonal variability from their feed source, rather than managing wild-harvest cyst lots, can order directly or set up a recurring shipment to match a fixed feeding calendar.
Sources
- SRAC Publication No. 702 — Artemia production for marine larval fish culture
- ZIRC Detailed Nursery and Food Instructions
- Larval rearing methods for small-scale production of healthy zebrafish
- Visualization of Unhatched Brine Shrimp Eggs in Zebrafish Intestines Using Synchrotron Radiation Phase‑Contrast CT
- Standard Operating Procedures Chen Laboratory Zebrafish Facility
FAQ
Can zebrafish eat brine shrimp every day?
Yes, brine shrimp are a standard daily component of zebrafish diets across larval, juvenile, and adult stages, provided feedings stay within the finish-in-10-minute rule to avoid uneaten food fouling the water. Most lab feeding schedules pair daily brine shrimp with dry supplements rather than relying on brine shrimp alone.
How fast do brine shrimp multiply?
Brine shrimp cysts hatch into free-swimming nauplii within 18 to 36 hours under proper temperature and aeration, but that is hatching, not reproduction. A lab culture is typically hatched fresh for each feeding cycle rather than grown to adulthood and bred on-site.
Will brine shrimp hatch in water around 70 degrees Fahrenheit?
Brine shrimp cysts hatch best between 25 and 28 degrees Celsius (77 to 82 degrees Fahrenheit), so water sitting near 70 degrees Fahrenheit falls below the recommended range and will slow or reduce hatch rates. Warming the water into that target range before inoculating cysts gives a more reliable and faster hatch.
Can I feed brine shrimp to freshwater fish like zebrafish?
Yes, brine shrimp are a standard live feed for freshwater species including zebrafish, despite being a saltwater organism themselves. The key step is rinsing nauplii thoroughly in system water or E3 medium before feeding, which removes the residual salt from the hatch water and protects the freshwater tank environment.
Should unhatched brine shrimp cysts be fed to zebrafish?
No, unhatched cysts should be separated out and discarded rather than fed. Imaging research using synchrotron radiation phase-contrast CT found that unhatched eggs can rupture inside zebrafish intestines and cause digestive stress, which is why standard lab practice discards them during the rinse and collection step.