
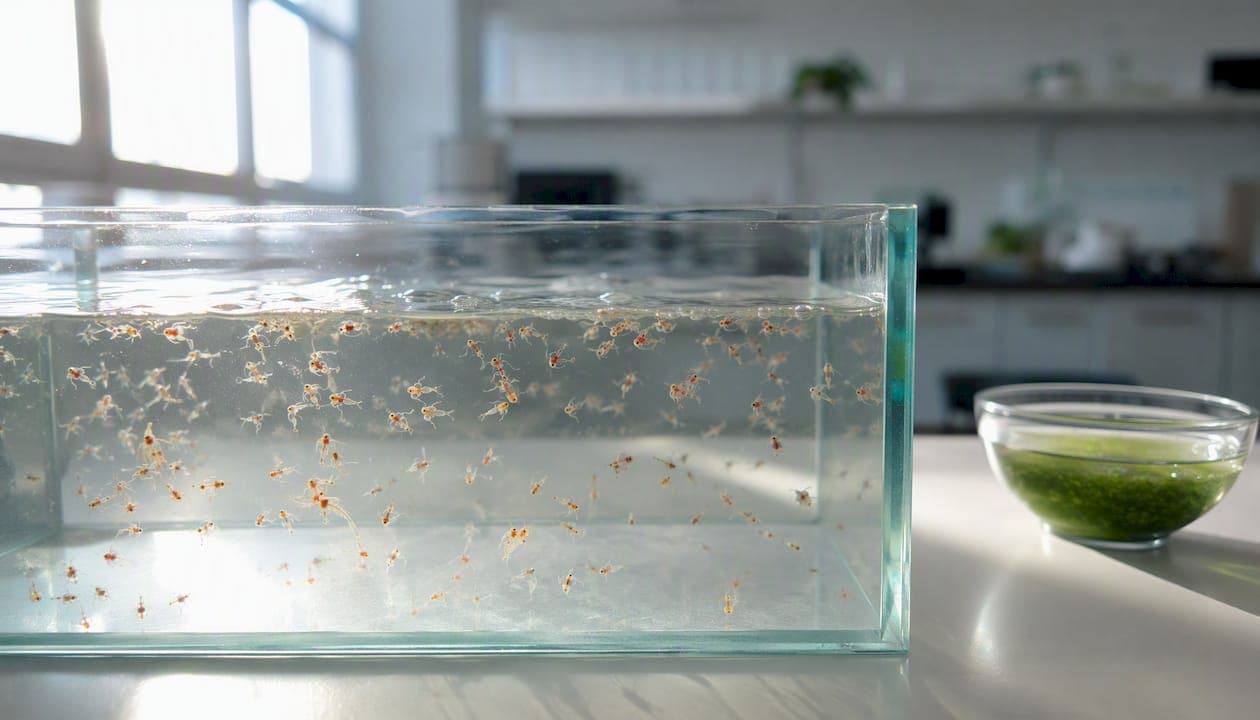
Brine shrimp (Artemia) are one of the best foods you can offer discus at any life stage. For fry, newly hatched baby brine shrimp (BBS) are practically non-negotiable during the first weeks of free-swimming life. For adults, frozen or live Artemia work well as part of a weekly rotation. The nutritional case is strong: high protein, essential fatty acids, and beta-carotene that visibly deepens red and orange coloration. The risks are real too: uneaten shrimp foul water fast, and some live sources carry parasites. Here is what you need to know before your next feeding:
- Fry: Start BBS at 4–5 days free-swimming; feed multiple small batches daily; siphon uneaten shrimp within 4–6 hours.
- Adults: Use brine shrimp 2–3 times per week as part of a rotation with beef heart, bloodworms, and quality pellets.
- Preparation: Always rinse frozen Artemia thoroughly; hatch BBS fresh for fry; source from a reliable, controlled-culture supplier.
- Tank hygiene: Daily water changes of at least 50% are standard during intensive BBS feeding periods.
The feeding schedules, preparation steps, and sourcing guidance are all covered below.
Key Takeaways
Brine shrimp are one of the most effective foods for discus at every life stage, but only when sourced, prepared, and managed correctly.
| Point | Details |
|---|---|
| Start fry on BBS at days 4–5 | Introduce freshly hatched nauplii via squirt delivery; feed 3–5 small batches daily. |
| Daily water changes are mandatory | During intensive BBS feeding, perform at least 50% water changes daily. |
| Frozen Artemia suits adults | Thaw, rinse thoroughly to remove salt, and feed 2–3 times per week as part of a rotation. |
| Rotation prevents nutritional gaps | Pair Artemia with beef heart, bloodworms, and quality pellets to cover vitamins and fiber Artemia alone cannot supply. |
| Demeterbioscience for consistent quality | Farmed, Dunaliella-fed live Artemia from Demeterbioscience delivers high protein with no seasonal variability. |
Table of Contents
- Why brine shrimp benefit discus: nutrition and color explained
- Which form of brine shrimp should you use for discus?
- How to feed brine shrimp to discus fry and adults
- How to prepare brine shrimp safely before feeding
- Water quality after feeding: keeping the tank safe
- How to build a balanced discus diet around brine shrimp
- Where to buy and how to store brine shrimp in the U.S.
- Breeder-tested protocol for raising discus fry on brine shrimp
- What experienced keepers actually find
- Demeterbioscience farmed live Artemia: a dependable U.S. source
- Sources
Why brine shrimp benefit discus: nutrition and color explained
The nutritional case for Artemia starts with protein. Freshly hatched nauplii carry their yolk sac intact, which means you are delivering a dense package of amino acids, essential fatty acids, and fat-soluble pigments directly to your fish. Artemia nauplii are credited with supporting healthy growth and improved red coloration in juvenile discus, and the mechanism is straightforward: beta-carotene from the nauplii's diet gets deposited in the fish's skin, intensifying orange and red tones.
The yolk-sac window matters more than most hobbyists realize. Nauplii that have been swimming for more than half a day have largely consumed their yolk reserves. At that point, their nutritional value drops considerably unless they have been gut-loaded or enriched. This is why breeders insist on hatching fresh batches rather than storing live nauplii overnight.
Key nutritional benefits at a glance:
- Protein: Freshly hatched nauplii deliver high-quality protein essential for fry muscle development and rapid growth.
- Essential fatty acids: Omega-3 and omega-6 fatty acids support cell membrane integrity and immune function in young discus.
- Beta-carotene: Beta-carotene in brine shrimp contributes to stronger red coloring in discus, a benefit breeders observe within weeks of consistent feeding.
- Digestibility: The small size and soft exoskeleton of nauplii make them easy for fry to consume and process.
One caution worth stating plainly: Artemia alone do not supply everything discus need. They are low in certain vitamins and fiber, and a diet built exclusively around brine shrimp produces fish that look colorful but lack the condition that comes from dietary variety. Use them as a cornerstone, not the whole structure.
Pro Tip: Enrich your BBS before feeding by adding a few drops of a high-HUFA supplement (like Selco or a similar omega-3 booster) to the harvest water and letting nauplii swim in it for 30–60 minutes. This dramatically increases the fatty-acid payload delivered to your fry.
Which form of brine shrimp should you use for discus?
Not all Artemia products are equal, and the form you choose affects nutrition, tank cleanliness, and suitability for fry versus adults.
- Newly hatched nauplii (BBS): The gold standard for fry. Yolk sac intact, high nutritional value, and small enough for fry to eat from day four or five of free-swimming life. Must be hatched fresh; nutritional value declines sharply after 12–24 hours.
- Live adult/juvenile Artemia: Larger, suitable for adult discus. Nutritionally good if sourced from a controlled culture, but they swim actively and can be harder to portion. Wild-harvested adults carry variable nutrition depending on what they ate in the wild.
- Frozen/thawed Artemia: The most convenient option for adults. Nutrition is lower than fresh-hatched nauplii because freezing ruptures cells and destroys some fatty acids, but frozen shrimp are parasite-free and easy to store. Rinse thoroughly before feeding to remove salt and processing fluids.
- Decapsulated cysts: Artemia eggs with the outer shell removed. They do not hatch, so they carry no live nutritional value beyond the egg contents. Useful as a fry food when hatching is not practical, but not a long-term substitute for BBS.
- Enriched Artemia: Adult or juvenile Artemia that have been gut-loaded with high-HUFA oils or spirulina. A good option when you want to boost fatty-acid delivery to adults without hatching fresh batches daily.
| Form | Best for | Nutrition level | Fouling risk | Parasite risk |
|---|---|---|---|---|
| Freshly hatched BBS | Fry (days 4–14+) | High (yolk intact) | Moderate | Low |
| Live adult Artemia | Adults, juveniles | Moderate to high | Moderate | Low to moderate |
| Frozen/thawed | Adults, convenience | Moderate | Low if rinsed | Very low |
| Decapsulated cysts | Fry (backup) | Low to moderate | Low | None |
| Enriched Artemia | Adults, color boost | High | Moderate | Low |
Hobbyist forums consistently report that brine shrimp improve color, especially red tints, and recommend frozen as a safer option for keepers concerned about parasite risk from live sources. That concern is legitimate. Wild-caught live worms and some live Artemia from uncontrolled sources can introduce internal parasites. Frozen products and farmed live Artemia from controlled systems sidestep most of that risk.
How to feed brine shrimp to discus fry and adults
Fry feeding timeline and delivery
Introduce newly hatched brine shrimp at about four to five days free-swimming using a squirted delivery so fry leave the parents to feed; start with very small amounts to avoid water contamination. The squirt method works like this: draw harvested nauplii into a pipette or needleless syringe and release small puffs near the fry. The movement triggers a feeding response, and fry quickly learn to chase the nauplii.
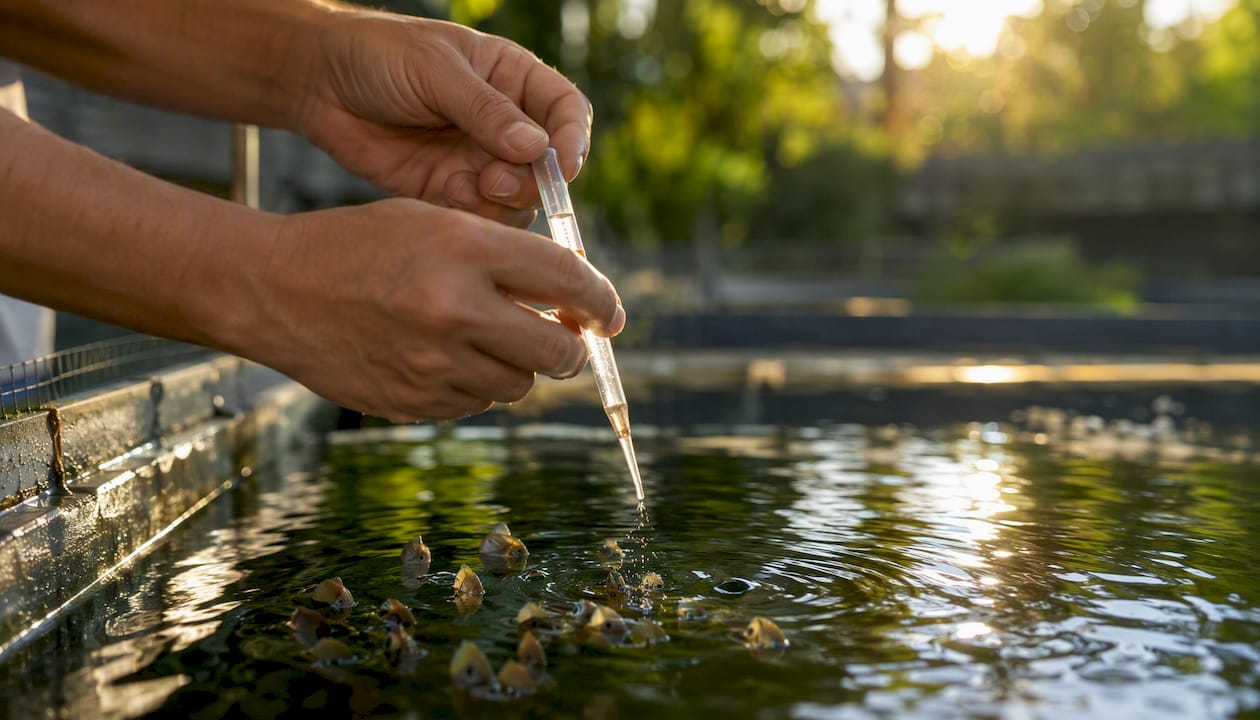
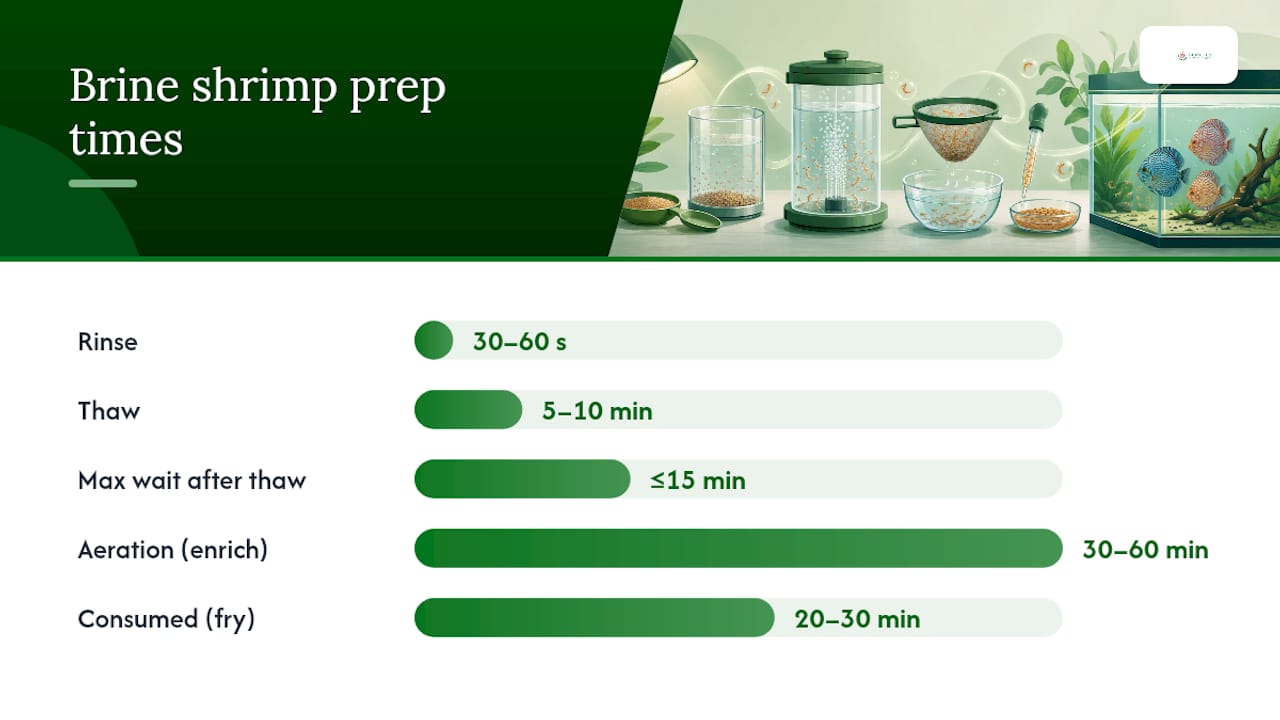
A sample regimen from experienced keepers starts offering newly hatched brine shrimp at five days while fry feed on parents' slime, with multiple small feedings per day and early siphoning of uneaten shrimp to avoid fouling. "Small" here means a portion the fry can consume within 20–30 minutes. If nauplii are still swimming freely after 45 minutes, you fed too much.
Step-by-step BBS delivery for fry:
- Harvest nauplii from the hatchery bottle by removing the air stone and shining a light on one side of the bottle. Nauplii are phototactic and will concentrate near the light, leaving unhatched eggs and debris behind.
- Draw the concentrated nauplii into a pipette or syringe using a fine-mesh strainer or airline tubing.
- Squirt small puffs near the fry cluster, not directly at them.
- Observe for 20–30 minutes. If nauplii remain uneaten, siphon them out immediately.
- Repeat 3–5 times per day during the first two weeks of BBS feeding.
Adult feeding
Adults do not need BBS. Frozen or live adult Artemia work well, fed 2–3 times per week as part of a rotation. Offer an amount the fish consume within 5–10 minutes, then remove any remainder. Avoid feeding Artemia as the last meal before lights-out; uneaten shrimp decompose overnight and spike ammonia by morning.
| Stage | Feed type | Frequency | Portion guidance |
|---|---|---|---|
| Days 1–3 free-swimming | Parents' slime coat | Continuous | No supplemental feed yet |
| Days 4–5 | BBS (freshly hatched) | 3–5x daily | Tiny puffs; consumed in 20–30 min |
| Days 5–14 | BBS + decapsulated cysts | 4–5x daily | Increase gradually as fry grow |
| Weeks 3–8 | BBS + finely minced beef heart | 4x daily | Transition toward larger foods |
| Juveniles (8+ weeks) | Frozen Artemia + beef heart + pellets | 3–4x daily | Rotation-based |
| Adults | Frozen or live Artemia (rotation) | 2–3x per week | Consumed within 5–10 min |
Pro Tip: For fry tanks, run your BBS feedings during daylight hours only. Nauplii that go uneaten after lights-out are invisible to you and visible to bacteria. Morning feedings followed by a water change and siphon is the safest rhythm.
How to prepare brine shrimp safely before feeding
Preparation is where most fouling and disease problems start. A few minutes of proper handling prevents hours of tank cleanup.
Frozen Artemia preparation:
- Thaw a small cube or portion in a cup of tank-temperature water for 5–10 minutes. Never use hot water; it degrades the remaining fatty acids.
- Pour the thawed shrimp through a fine-mesh brine shrimp net or strainer. Rinse under cool running water for 30–60 seconds to remove salt, processing fluids, and any soluble waste.
- Check the smell. Fresh frozen Artemia smells mildly oceanic. A sour or ammonia-like odor means the product has degraded; discard it.
- Feed immediately after rinsing. Do not let thawed shrimp sit in a cup for more than 15 minutes before use.
Live BBS preparation:
- Harvest nauplii using the light-concentration method described above.
- Rinse harvested nauplii through a fine-mesh net under fresh water to remove salt water from the hatchery.
- If enriching, transfer to a shallow dish with a few drops of enrichment supplement and aerate gently for 30–60 minutes before feeding.
- Inspect for cloudiness in the hatchery water before harvesting. Cloudy water with a foul smell means bacterial contamination; discard the batch and sanitize the hatchery.
Safety checklist before every feeding:
| Check | What to look for | Action if failed |
|---|---|---|
| Smell | Mild oceanic, not sour or ammonia | Discard; do not feed |
| Color | Orange-red (nauplii) or natural shrimp color | Pale/gray = old or dead; discard |
| Water clarity | Clear hatchery water | Cloudy = bacterial bloom; discard batch |
| Salt removal | Rinsed through fresh water | Re-rinse if skipped |
| Portion size | Consumed within 20–30 min (fry) or 5–10 min (adults) | Siphon remainder immediately |
Parasite risk from live Artemia is lower than from live tubifex worms or bloodworms, but it is not zero. Farmed Artemia from controlled, land-based systems carry significantly less risk than wild-harvested product because the culture environment is monitored and closed. If you are sourcing live shrimp from an unverified supplier, freezing them first eliminates most pathogens, though it also reduces nutritional value.
Water quality after feeding: keeping the tank safe
Artemia spoil faster than almost any other aquarium food. A nauplius that goes uneaten for more than an hour in a warm discus tank is already breaking down and releasing ammonia. In a fry tank with dozens of uneaten shrimp, that process happens fast enough to crash water quality within hours.
Practical rules to follow:
- Set a clearance threshold. If shrimp are not consumed within 20–30 minutes in a fry tank or 5–10 minutes in an adult tank, siphon the remainder immediately.
- Siphon after every feeding. Use a thin airline tube or a fine siphon to vacuum the bottom of the fry tank after each BBS session. Do not wait until the end of the day.
- Water changes during BBS feeding are non-negotiable. Breeders emphasize rigorous water maintenance while feeding BBS: substantial daily water changes are a bare minimum when fry are being fed heavily. Some breeders recommend very frequent changes to prevent bacterial and protozoan outbreaks. That sounds extreme until you have lost a batch of fry to a bacterial bloom.
- Avoid late-night protein feedings. Never feed Artemia as the last meal before lights-out. Uneaten shrimp decompose overnight when you cannot siphon them.
- Sponge filter maintenance. During intensive BBS feeding, rinse your sponge filter in tank water every 2–3 days. Clogged sponges stop processing ammonia effectively right when you need them most.
- Watch for ammonia spikes. Test ammonia daily during the first two weeks of BBS feeding. Any reading above zero in a fry tank is a signal to increase water-change frequency immediately.
How to build a balanced discus diet around brine shrimp
Brine shrimp are a tool, not a complete diet. Discus need a rotation that covers protein, fat, fiber, and micronutrients across the week. Discus have fast metabolisms and small stomachs; frequent small feedings and a rotated diet yield better growth and condition than monotonous feeding.
Why rotation matters:
- Artemia are low in certain vitamins (B12, D3) and fiber. Beef heart mixes and quality pellets fill those gaps.
- Bloodworms add variety and are eagerly accepted, but they are high in fat and should not dominate the rotation.
- Spirulina-based flake or pellets supply plant-based pigments that complement the beta-carotene from Artemia.
Sample weekly rotation for adults:
- Monday: Frozen Artemia (morning) + beef heart mix (evening)
- Tuesday: Quality pellets (morning) + frozen bloodworms (evening)
- Wednesday: Frozen Artemia (morning) + beef heart mix (evening)
- Thursday: Spirulina flake or pellet (morning) + beef heart mix (evening)
- Friday: Frozen Artemia (morning) + quality pellets (evening)
- Saturday: Frozen bloodworms (morning) + beef heart mix (evening)
- Sunday: Fasting or light pellet feeding to clear the gut
For juveniles transitioning off BBS (weeks 4–8):
- Morning: BBS or frozen Artemia
- Midday: Finely minced beef heart or quality juvenile pellet
- Evening: BBS or decapsulated cysts
- Reduce BBS frequency as juveniles accept larger foods reliably
Hobbyist protocols pair morning BBS feedings for fry with rigorous siphoning and water changes, while evening feedings for adults emphasize heavier foods to avoid leaving protein-rich material to decay overnight. That split makes practical sense: you are present in the morning to manage the aftermath of a BBS feeding, and heavier evening foods for adults are consumed quickly by fish that have been feeding all day.
Avoid feeding Artemia and beef heart in the same session. Both are protein-dense, and the combination produces more waste than either alone. Pair Artemia with a lighter food on the same day and save beef heart for a separate meal.
Where to buy and how to store brine shrimp in the U.S.
Sourcing matters as much as preparation. The nutritional consistency of Artemia varies significantly depending on how they were raised and how they were handled before reaching you.
What to ask any supplier:
- What were the shrimp fed? Dunaliella or other microalgae produce nutritionally superior Artemia compared with shrimp raised on yeast or low-quality feeds.
- Are they wild-harvested or farmed? Wild-harvested Artemia from salt lakes have variable nutrition depending on season and lake conditions. Farmed, land-based Artemia from controlled systems deliver consistent nutrition year-round.
- How are live shipments packaged? Overnight shipping with insulated packaging and oxygen supplementation is the standard for live Artemia. Anything less risks arriving with significant mortality.
Storage guidelines:
- Live Artemia: Keep in a shallow, aerated container at a stable temperature (around 60–65°F slows metabolism and extends shelf life). Do not store for more than 2–3 days; feed as fresh as possible.
- Frozen Artemia: Keep solidly frozen until use. Never refreeze thawed product. Store in small portions so you thaw only what you need.
- Brine shrimp eggs (cysts): Store in a sealed container in the refrigerator. Properly stored cysts remain viable for years.
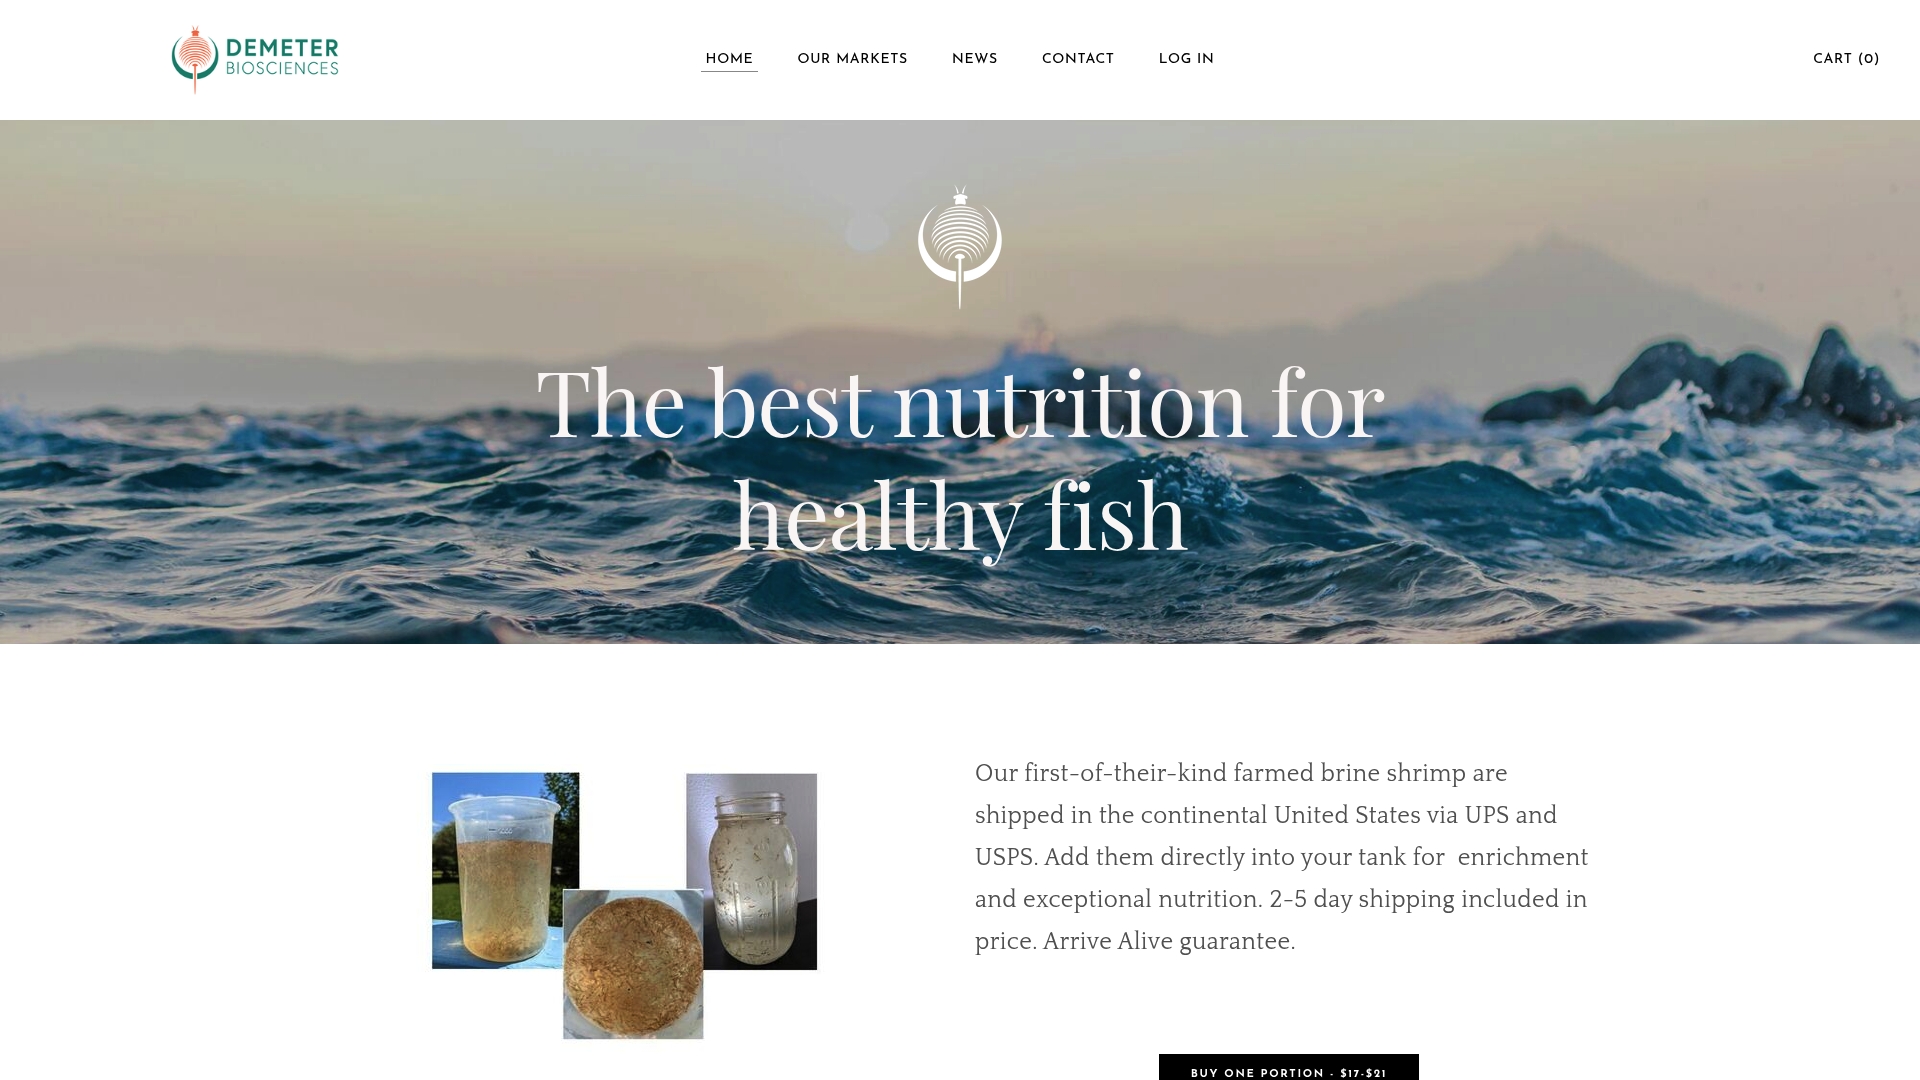
Demeter Biosciences cultivates its farmed live brine shrimp in a controlled, land-based system, feeding them Dunaliella microalgae for consistent nutrition, and offers direct-to-consumer live shipments, subscription plans, and bulk packages. For U.S. hobbyists who want live Artemia without the nutritional variability of wild-harvested product, a farmed source like this is worth the investment. When your order arrives, inspect the bag or container immediately: live shrimp should be actively swimming, water should be clear, and there should be no strong odor. Acclimate them to your holding container gradually rather than dumping them directly into a new water chemistry.
For a practical brine shrimp feeding station setup that covers hatchery layout and delivery methods, the Demeterbioscience blog walks through the full workflow.
Breeder-tested protocol for raising discus fry on brine shrimp
This is the protocol experienced breeders actually use, not a theoretical framework.
- Days 1–3 free-swimming: No supplemental feeding. Fry graze on the parents' slime coat. Focus entirely on water quality: maintain temperature at 84–86°F, keep the tank dim, and do not disturb the pair.
- Days 4–5: Set up a brine shrimp hatchery when fry are about three days free-swimming; freshly hatched BBS are the preferred early food for rapid growth. Introduce the first BBS feeding on day four or five using the squirt method. Start with a very small amount.
- Days 5–14: Feed BBS 3–5 times daily. Each feeding should be consumed within 20–30 minutes. Siphon after every session. Perform 50% water changes at minimum daily; many breeders do two water changes per day during this phase.
- Weeks 2–4: Increase BBS portion size as fry grow. Begin introducing finely minced beef heart or a quality fry food at one of the daily feedings. Monitor water quality closely as the bioload increases.
- Weeks 4–8: Gradually reduce BBS frequency as fry accept larger foods. Transition to a rotation of frozen Artemia, beef heart, and pellets. Move fry to a grow-out tank when they reach 1–1.5 inches.
- Weeks 8+: Full adult rotation. BBS is no longer necessary; frozen Artemia 2–3 times per week is sufficient for color and variety.
Hatchery management during intensive feeding:
| Hatchery detail | Recommended practice |
|---|---|
| Batch setup | Run 2–3 staggered bottles so fresh nauplii are available every 4–6 hours |
| Harvest timing | Harvest at 12–24 hours post-hatching (yolk sac still intact) |
| Light concentration | Remove air stone, shine light on one side, siphon nauplii from that side |
| Sanitation | Rinse hatchery bottles with hot water and white vinegar between batches |
| Cyst quality | Use high-quality cysts with a known hatch rate; discard old or low-viability stock |
Pro Tip: Run two or three small 2-liter hatchery bottles staggered by 6–8 hours rather than one large batch. You get peak-nutrition nauplii at every feeding window instead of a single large harvest that degrades before you can use it all.
What experienced keepers actually find
The water management side of BBS feeding is genuinely demanding. During the first two weeks of fry rearing, you are essentially running a small water treatment operation alongside a fish nursery. Two water changes a day, siphoning after every feeding, monitoring ammonia daily. It is a real commitment.
The payoff is visible. Fry that receive consistent BBS feedings from day four or five grow noticeably faster than those started on other foods, and the orange belly coloration that develops in well-fed fry is a reliable indicator that the feeding program is working. Once you see that color appear in the first two weeks, the extra maintenance effort stops feeling like a burden.
Brine shrimp require management, but the results in fry growth and color are hard to replicate with any other starter food. Pair strict maintenance with a reliable Artemia source and the protocol largely runs itself.
Demeterbioscience farmed live Artemia: a dependable U.S. source
Wild-harvested brine shrimp from salt lakes vary in nutritional quality depending on the season and what the shrimp ate before harvest. Farmed Artemia from a controlled system sidestep that problem entirely. That consistency matters when you are feeding fry during a critical growth window and cannot afford a nutritionally depleted batch.
For U.S. hobbyists, live brine shrimp are available as direct-to-consumer shipments, with subscription plans for recurring deliveries and bulk ordering for local fish stores, institutions, or serious breeders running multiple tanks. Shipments arrive in insulated, oxygen-supplemented packaging designed for overnight transit. On arrival, check that shrimp are actively swimming and water is clear before transferring to your holding container. For institutional or large-volume orders, contact Demeterbioscience directly to discuss bulk pricing and delivery logistics.
Sources
These sources informed the feeding schedules, preparation steps, and breeder protocols throughout this article.