
Scaling up live brine shrimp feeding is defined as the controlled expansion of Artemia nauplii production and delivery to meet growing nutritional demands in aquaculture or home aquariums. Live brine shrimp, known scientifically as Artemia salina, deliver a protein-dense, highly digestible feed that outperforms most dry alternatives for larval fish and juvenile invertebrates. The key to success lies in controlling three variables: hatching conditions, harvest timing, and feeding frequency. Get those right, and you can increase brine shrimp production without sacrificing feed quality or tank water stability.
How to scale up live brine shrimp feeding: setup and prerequisites
The right equipment determines whether your culture runs smoothly or collapses at volume. At minimum, you need conical or cylindrical hatching vessels, a reliable air pump with coarse airstones, a light source positioned 6–12 inches from the vessel, and a fine mesh harvest net rated at 100–150 microns.
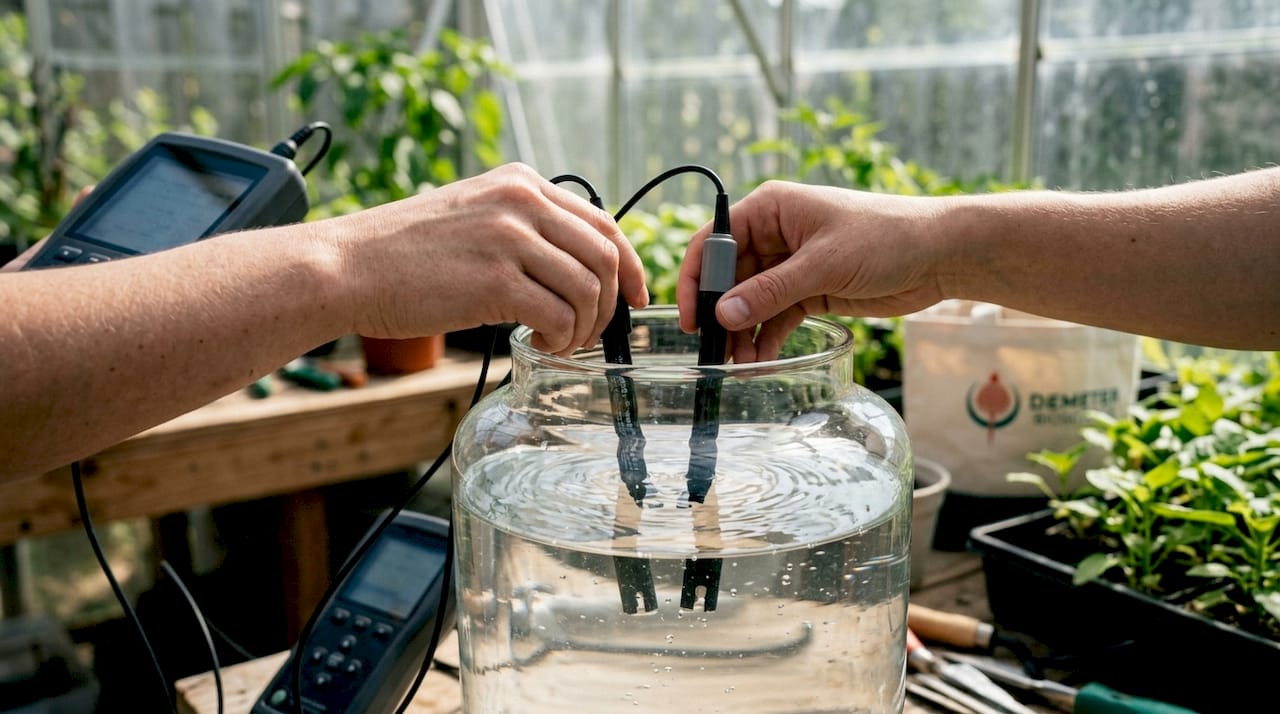
Water parameters matter just as much as hardware. Salinity should sit between 25–35 parts per thousand, pH between 8.0 and 8.5, and temperature between 77–86°F (25–30°C). Oxygen must stay above 2.5 mg/L at all times. Dropping below that threshold triggers hemoglobin overproduction in the shrimp, turning the culture visibly red and signaling serious stress.
Stocking density scales with vessel size. A 1-liter vessel handles 1–2 grams of cysts comfortably. Moving to a 10-liter vessel, you can process 10–20 grams per batch. Industrial modules use tanks of roughly 3 metric tons of water capacity, processing 240 kg of cysts per day across 40 tanks per module. That scale shows what controlled standardization can achieve when the fundamentals are locked in.
| Parameter | Optimal range | Why it matters |
|---|---|---|
| Salinity | 25–35 ppt | Supports cyst hydration and nauplii survival |
| pH | 8.0–8.5 | Prevents shell degradation and bacterial growth |
| Temperature | 77–86°F | Accelerates hatch rate and nauplii activity |
| Dissolved oxygen | Above 2.5 mg/L | Prevents hemoglobin stress response |
| Stocking density | 1–2 g cysts per liter | Avoids crowding and oxygen competition |
Pro Tip: Add a small amount of baking soda (1 gram per liter) to your hatching water. It buffers pH into the ideal range without requiring constant monitoring.
What is the best process for hatching, harvesting, and rinsing at scale?
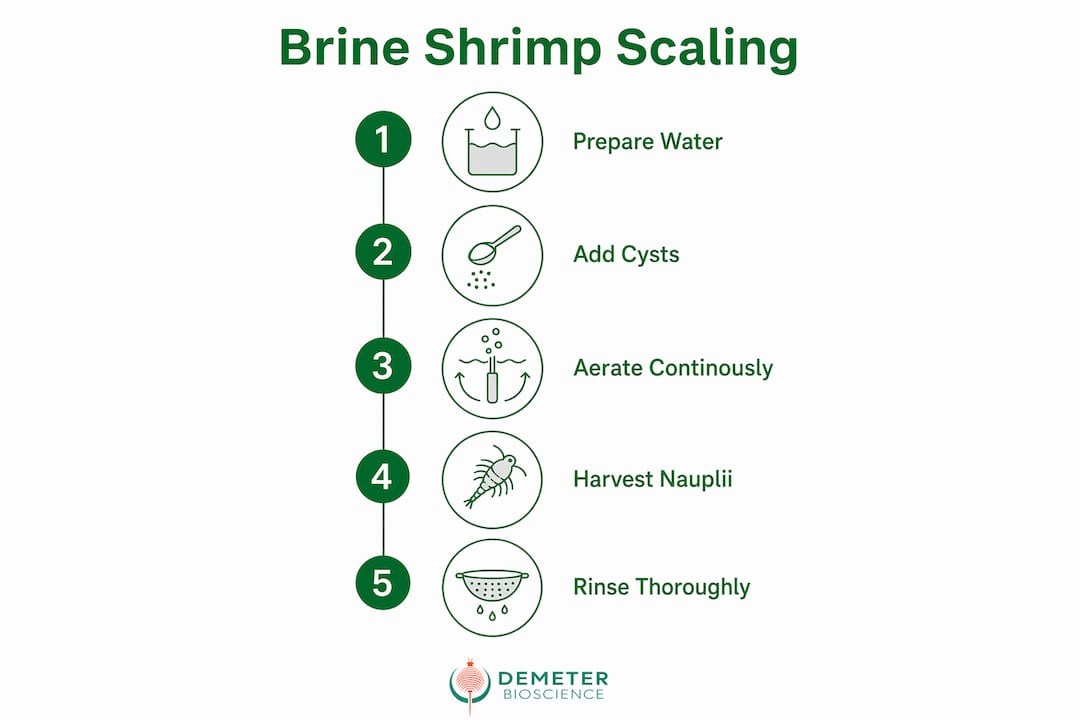
A reliable batch starts with the right proportions. Combine 1 liter of salt water, 1 gram of baking soda, and 1–2 grams of cysts per vessel. Optimal hatch rates of 80–90% occur with 18–24 hours of incubation under continuous aeration and light at pH 8.0–8.5. That window is not flexible. Harvesting too early means collecting unhatched cysts. Harvesting too late means nauplii have burned through their yolk sac and lost peak nutritional value.
Follow these steps for a clean, high-yield harvest:
- Turn off the air pump and light 10–15 minutes before harvesting. This stops water movement and allows shells and unhatched cysts to sink.
- Shine a flashlight or lamp at the bottom third of the vessel. Nauplii are phototactic and will concentrate toward the light source.
- Use a pipette or siphon to draw nauplii from the light-concentrated layer, avoiding the debris at the bottom.
- Pour the nauplii slurry through a 100–150 micron mesh net and rinse with fresh water for 10–15 seconds.
- Tap the net gently over a clean container of tank-conditioned water to transfer the rinsed nauplii.
The rinsing step is non-negotiable at any scale. Salt water and metabolic waste from the hatching vessel will degrade tank water quality fast if carried over. A thorough freshwater rinse removes both.
| Harvesting method | Accuracy | Speed | Best for |
|---|---|---|---|
| Phototaxis concentration | High | Moderate | Hobbyist and mid-scale |
| Density-layer siphoning | Moderate | Fast | Mid-scale batch production |
| Continuous flow harvest | High | Very fast | Industrial modules |
Pro Tip: Run two hatching vessels on a staggered 12-hour schedule. You get a fresh nauplii batch every half-day without gaps in feed supply.
How do you feed live brine shrimp efficiently without hurting water quality?
Feeding frequency depends on the growth stage of your fish. Larval fish need brine shrimp feeding four to six times per day in small portions. Juvenile fish do well with two to three feedings daily. Adult fish in community tanks typically need one to two feedings per day, with brine shrimp used as a supplement rather than a primary diet.
Transfer nauplii into the tank carefully. Pour the rinsed batch into a small cup of tank water first, let it sit for 60 seconds, then pour slowly near a low-flow area of the tank. This acclimation step prevents osmotic shock to the nauplii and keeps them alive longer in the tank water, giving slower fish time to feed.
Overfeeding is the most common mistake at scale. Uneaten nauplii die quickly in fresh water, decompose, and spike ammonia levels. Feed only what fish consume within 5–10 minutes. For community tanks with mixed feeding behaviors, target mid-water feeders first, then use a pipette to deliver nauplii directly near bottom-dwelling species.
- Feed larval fish 4–6 times daily in micro-portions
- Use a pipette for targeted delivery to shy or bottom-dwelling species
- Remove uneaten nauplii after 10 minutes with a fine siphon
- Never feed directly from the hatching vessel without rinsing first
- Refrigerate harvested shrimp for up to 6 hours to extend your feeding window without nutritional loss
Pro Tip: Chill your rinsed nauplii in a small container of salt water at 39–41°F (4–5°C) between feedings. Cold slows their metabolism and keeps them alive and nutritious for the next scheduled feed.
What challenges come up when scaling brine shrimp production?
Dispenser clogging is the most common mechanical failure at scale. Shell debris and unhatched cysts block tubing and drip valves, interrupting feed delivery at the worst possible time. Filtering the nauplii slurry before it enters any dispensing system, and retrofitting tubing with step-down segments and dripline valves, reduces clogging significantly.
Oxygen depletion is the second major risk. As culture volume grows, oxygen demand grows with it. A single coarse airstone is rarely enough for vessels above 5 liters. Add a second airstone or switch to a manifold system that distributes airflow evenly. Dissolved oxygen below 2.5 mg/L causes visible reddening of the culture and signals that shrimp are in distress. Act immediately when you see that color change.
Microbial contamination becomes a serious threat as batch size increases. Bacteria replicate fast in warm, nutrient-rich hatching water. Sodium hypochlorite sterilization of all equipment between batches, followed by thorough rinsing, keeps bacterial loads under control. Never reuse hatching water across batches.
Nauplii rely entirely on their yolk sac for the first 6–12 hours after hatching. Once that yolk sac depletes, their nutritional value drops sharply unless they receive external feed. Time your harvest to catch nauplii before depletion, and supplement older cultures with microalgae like Dunaliella to maintain feed quality.
Timing the yolk sac window is the detail most aquaculturists overlook. Nauplii fed after yolk depletion require external nutrition to stay valuable as feed. Demeterbioscience addresses this directly by culturing brine shrimp exclusively on Dunaliella algae, producing shrimp with at least 40% protein content and consistent nutritional quality regardless of harvest timing.
Key Takeaways
Scaling live brine shrimp feeding successfully requires controlled hatching conditions, precise harvest timing, and disciplined feeding practices that protect both fish nutrition and water quality.
| Point | Details |
|---|---|
| Hatch at optimal conditions | Use 1 g baking soda per liter, maintain pH 8.0–8.5, and harvest within 18–24 hours for 80–90% hatch rates. |
| Rinse before every feeding | Pass nauplii through a 100–150 micron mesh net with fresh water to remove salt and waste. |
| Match feeding frequency to fish stage | Larval fish need 4–6 feedings daily; adults need 1–2 feedings with brine shrimp as a supplement. |
| Watch oxygen levels closely | Keep dissolved oxygen above 2.5 mg/L. Red-colored cultures signal immediate aeration problems. |
| Filter dispensing systems | Pre-filter nauplii slurry before it enters tubing or drip valves to prevent clogging at scale. |
What scaling brine shrimp actually taught me
Most aquaculturists who struggle with scaling are not failing at the big things. They are failing at the small, repeatable ones. The hatching vessel is dirty from the last batch. The airstone is partially blocked. The harvest happens 30 minutes late because something else came up. Each of those errors is minor in isolation. Together, they compound into inconsistent nauplii quality, stressed fish, and fouled water.
The hobbyist-to-commercial transition is not really about equipment size. It is about discipline in process. I have seen small operations with two 5-liter vessels outperform larger setups because they ran tight schedules and clean equipment. Staggered batches, consistent water parameters, and a simple log of hatch times and yields will tell you more about your system's health than any expensive sensor.
Automation is worth considering once you hit a volume where manual harvesting takes more than 30 minutes per day. Timed air pumps, drip-feed dispensers, and flow-through rinsing systems exist and work well. But automate a broken process and you just fail faster. Fix the fundamentals first.
One thing I would push back on: the assumption that sourcing your own nauplii is always the right call at scale. For larval fish nutrition where protein consistency matters most, a reliable external supply of farm-raised, algae-fed brine shrimp can outperform even a well-run in-house culture. The nutritional floor is simply higher when the shrimp have been fed properly from the start.
— Demeter
Demeterbioscience live brine shrimp for your scale-up operation
Aquaculturists and hobbyists who want consistent, high-protein live feed without the variability of wild-harvested shrimp have a direct solution available.
Demeterbioscience farms brine shrimp in land-based, controlled systems fed exclusively on Dunaliella microalgae, delivering a guaranteed minimum of 40% protein per batch. Every shipment arrives live and ready to feed, with no seasonal gaps or nutritional guesswork. For operations running at volume, bulk brine shrimp orders are available for museums, local fish stores, and commercial hatcheries. For individual aquarists, live brine shrimp ship directly to your door on a schedule that fits your feeding program.
FAQ
What is the ideal incubation time for hatching brine shrimp?
The ideal incubation window is 18–24 hours at pH 8.0–8.5 with continuous aeration and light. This produces hatch rates of 80–90% under optimal conditions.
How do I know if my brine shrimp culture is oxygen-deprived?
A red color in the culture is the clearest sign. Dissolved oxygen below 2.5 mg/L triggers hemoglobin production in nauplii, turning the water and shrimp visibly red. Add a second coarse airstone immediately.
How long can I store harvested brine shrimp before feeding?
Refrigerate rinsed nauplii in salt water at 39–41°F for up to 6 hours. Cold storage beyond 6 hours risks mortality and nutritional loss.
Why do my brine shrimp lose nutritional value after hatching?
Nauplii consume their yolk sac within the first 6–12 hours post-hatch. After that window, their nutritional value drops unless they receive external microalgae feed. Harvest before yolk depletion or supplement with Dunaliella to maintain quality.
How often should I feed live brine shrimp to larval fish?
Larval fish require 4–6 small feedings per day. Juvenile fish do well with 2–3 daily feedings. Consult a structured feeding schedule to match feed volume to growth stage and avoid water quality problems from overfeeding.