
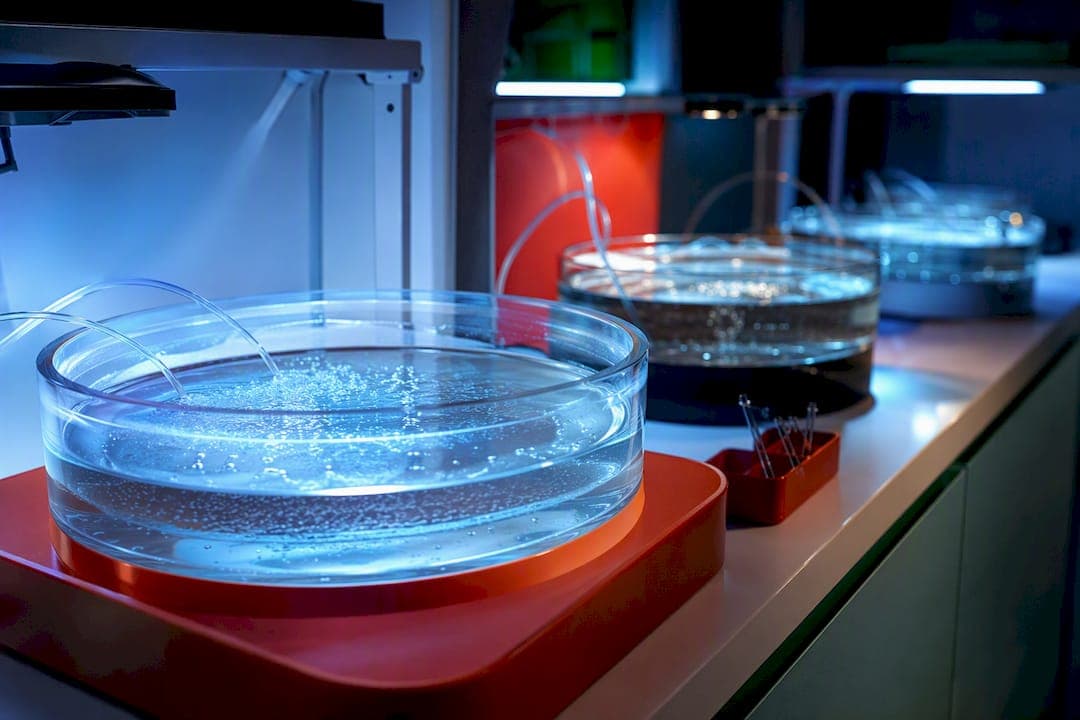
A working brine shrimp holding system needs four things: a shallow hatching vessel, a separate grow-out container, continuous aeration, and saltwater matched to the right salinity for each stage. Get those four right, feed on a schedule instead of a guess, and swap containers weekly, and you'll have a stable supply of live feed instead of a mystery culture crash every few weeks. The rest of this guide covers the exact numbers, the equipment, and the failure points that trip up most home setups.
TL;DR:
- Using round-bottomed or conical containers helps keep brine shrimp evenly suspended, reducing dead zones and bacteria buildup compared to flat-bottomed tanks.
- Maintaining precise water salinity at 10-20 ppt for hatchings and 18-25 ppt for grow-out is essential to maximize hatch success and shrimp health.
- Proper aeration with appropriately sized pumps and coarse airstones ensures stable oxygen levels and prevents shrimp from ingesting fine bubbles.
- Feeding should follow a "finger test" approach, providing small amounts of reactive microalgae or powder-based foods and avoiding overfeeding that fouls water.
- Regular water changes, vessel sterilization, and source water testing are critical practices to prevent failures, contamination, and saltwater chemistry mismatches.
Table of Contents
- What Containers Work Best for a Brine Shrimp Holding System
- Water Parameters: Salinity, Temperature, and pH Targets
- Setting Up Aeration and Circulation Equipment
- Feeding Hatchlings and Grow-Out Shrimp the Right Way
- How to Harvest and Transfer Brine Shrimp Safely
- A Maintenance Routine That Keeps the System Stable
- Troubleshooting Common Holding System Failures
- Why Farmed, Microalgae-Fed Shrimp Simplify the Whole System
- Lighting Conditions That Support Healthy Brine Shrimp Behavior
- Quarantine and Acclimation When Adding New Shrimp to a System
- Watching for Disease and Parasites in Brine Shrimp Cultures
- Scaling from a Windowsill Culture to Commercial Production
- Safety and Biosecurity Practices for a Holding System
- What Actually Moves the Needle in a Working System
- Get a Reliable Supply Without Building the Whole System Yourself
- Sources
What Containers Work Best for a Brine Shrimp Holding System
The shape of your container matters almost as much as the water inside it. Round-bottomed or conical vessels keep cysts and nauplii suspended in the current instead of settling into corners where they rot. Flat-bottomed rectangular tanks or buckets create dead zones in the corners unless you compensate with extra airstones or a raceway-style baffle.
For a quick hatch batch, a shallow dish, a repurposed baking pan, or an inverted 2-liter bottle with the bottom cut off works fine. Diana Walstad's hatching notes describe shallow, unaerated dishes as a legitimate method for small hobbyist batches, no pump required. Once you're past a single dish and into daily production, you want purpose-built vessels:
- Quick hatch: shallow glass dishes, inverted soda bottles, or a hatching cone with a bottom drain
- Grow-out: 5-gallon buckets for casual keepers, 10 to 20-gallon tanks for stores or small labs
- Scaled production: shallow rectangular tanks with continuous aeration, which reliably hold adults through grow-out
Whatever the shape, pick a material you can scrub without scratching. Cloudy, scratched plastic holds bacterial film that survives a rinse, and residue from a failed batch is one of the quiet reasons the next batch underperforms. Bleach at a light dilution, followed by a thorough freshwater rinse and a full day of air drying, resets a vessel properly between runs.
Water Parameters: Salinity, Temperature, and pH Targets
Numbers matter here more than instinct. Get the salinity wrong at the hatch stage and you'll lose half your cysts before they ever swim.
For hatching, aim for roughly 10 to 20 parts per thousand (ppt), which corresponds to a specific gravity around 1.010 to 1.013. Walstad's research points to salinities in the 13 to 19 ppt range as consistently improving hatch success and egg hydration, because cyst shells absorb water more easily at lower concentrations. Push salinity too high and the cysts simply can't hydrate enough to hatch at all.
For grow-out, shift the water up to about 18 to 25 ppt, or specific gravity 1.012 to 1.018, once nauplii are a day or two old. Adult brine shrimp tolerate a much wider salinity band than eggs do, which gives you room to match new water more loosely as the culture matures.
Quick reference: Hatch salinity 10 to 20 ppt (SG 1.010 to 1.013). Grow-out salinity 18 to 25 ppt (SG 1.012 to 1.018). Ideal hatch temperature 80 to 86°F. pH target 8.0 to 8.5.
Temperature drives hatch speed directly. Warmer water within a warm range shortens hatch time; cooler water slows or stalls hatching. Grow-out shrimp handle a range of warm temperatures, but growth slows at cooler temperatures.
pH should sit between 8.0 and 8.5, matching natural saltwater alkalinity. Low alkalinity lets pH swing with every feeding, which stresses shrimp more than a single bad number ever would. A basic hydrometer or refractometer for salinity and an aquarium pH test kit cover the essentials. Always match new mixed saltwater to your existing tank's salinity and temperature before a water change. Sudden mismatches cause more mortality than slightly imperfect numbers held steady.
Setting Up Aeration and Circulation Equipment
Aeration does two jobs at once: it keeps cysts and nauplii suspended so they don't settle and suffocate, and it keeps dissolved oxygen high enough to support a dense culture. Skip it in anything beyond a single shallow dish, and you're capping how much shrimp that vessel can realistically support.
- Size the pump to the container. A basic aquarium air pump rated for a 10 to 20 gallon tank generally moves enough air for a comparable brine shrimp vessel; oversizing slightly is safer than undersizing.
- Choose coarse airstones over fine ones. Fine-bubble diffusers create tiny bubbles that shrimp can ingest and become trapped in, which is a subtle but real source of unexplained losses. Coarse airstones or a simple rigid airline dropped near the bottom move enough water without that risk.
- Add check valves on multi-vessel setups. A check valve near each airstone stops backflow if the pump loses power, which otherwise siphons your tank water straight into the pump housing.
- Test circulation visually. Drop in a pinch of food and watch it move. If it settles in a corner instead of circulating, you've got a dead zone that needs a second airstone or a repositioned one.
Pro Tip: Run two smaller air pumps on separate outlets instead of one large pump. If one fails overnight, the culture survives on the backup instead of gasping by morning.
Feeding Hatchlings and Grow-Out Shrimp the Right Way
Brine shrimp are filter feeders, which means they eat whatever fine particulate is suspended in the water column. That makes feeding simple in concept and easy to botch in practice, because overfeeding is the single most common way a home culture fouls itself.
Nauplii in their first day or two don't need feeding at all; they're still living off their own yolk reserves. After that, options scale with your setup:
- Microalgae (live or paste) is the closest match to a natural diet and the gentlest on water quality.
- Spirulina powder, finely ground, works as an affordable staple for grow-out shrimp.
- Yeast suspensions, mixed thin and added sparingly, are a common budget option but foul water faster than algae if overdosed.
- Commercial microfeeds formulated for rotifers or brine shrimp offer consistent particle size without the guesswork of home mixing.
The safest cadence follows what Brineshrimp calls the finger test: feed a small amount, check the water in 15 to 20 minutes, and if it's still cloudy from uneaten food, you fed too much. Clear water in that window means it's time for the next small dose.
Enrichment matters if these shrimp are headed for fry or delicate fish. Soaking harvested shrimp in a DHA-rich emulsion like SELCO for an hour before feeding boosts the fatty acid profile passed on to whatever eats them next. Mix small batches of enrichment fresh and refrigerate unused portions; it degrades fast at room temperature.
Pro Tip: Feed grow-out shrimp twice daily in small doses rather than once in a large dose. Split feeding matches their continuous filter-feeding behavior and cuts fouling risk substantially.
How to Harvest and Transfer Brine Shrimp Safely
Harvesting brine shrimp without dragging shells and unhatched cysts along with them comes down to timing and light.
- Turn off the aeration and let the water sit undisturbed for 10 to 15 minutes. Empty shells and unhatched cysts float; live nauplii sink toward the bottom or cluster where light hits the water.
- Shine a flashlight into one corner of the container, low near the bottom. Nauplii are phototactic and swarm toward the beam, concentrating them away from the floating debris on the surface, a technique documented as a standard separation method.
- Siphon or pipette the concentrated shrimp out of the lit zone, straining through a 100 to 150 micron mesh net to catch them while letting excess saltwater pass through.
- Rinse briefly under a light freshwater stream or dip the net in fresh saltwater matched to your display tank's salinity, cutting salt shock before shrimp enter their destination tank.
- Acclimate gradually if the destination water differs noticeably in salinity or temperature; a slow drip acclimation over 10 to 15 minutes beats a straight dump.
Excess nauplii keep for a day or two if refrigerated in a thin layer of their hatch water, though nutritional value drops the longer they sit. Feed what you can within hours of harvest for the best results, and treat refrigeration as a short bridge, not real storage.
A Maintenance Routine That Keeps the System Stable
Most culture failures trace back to skipped maintenance, not bad luck. A short daily check and a slightly longer weekly routine catch problems before they become crashes.
Daily, glance at water clarity, confirm the airstone is still bubbling steadily, and check temperature with a quick thermometer read. Cloudy water or a silent air pump both demand immediate attention, not a "check it tomorrow."
Weekly, change 10 to 25% of the water, always matching the replacement water's salinity and temperature first. Running two vessels and rotating between them, a two-bucket swap method, lets you clean and dry one container while the other stays in production, avoiding downtime entirely.
- Rinse airstones in fresh water weekly to clear salt crust buildup
- Inspect airline tubing for kinks or algae film and replace when discolored
- Fully sterilize a vessel (bleach rinse, thorough dry) after any hatch failure or visible contamination
- Retire a culture that's showing persistent cloudiness or a foul smell rather than trying to nurse it back
Troubleshooting Common Holding System Failures
Most problems announce themselves through a specific symptom, and matching that symptom to its cause saves you from guessing.
| Symptom | Likely cause | Immediate action |
|---|---|---|
| Shrimp gasping at the surface | Low dissolved oxygen | Add a second airstone; do a partial water change |
| Cysts never hatch | Metal-contaminated source water | Switch to RO/DI blend or a metal-chelating conditioner |
| Cloudy, foul-smelling water | Overfeeding | Skip the next feeding; increase water change to 25% |
| Sudden mass die-off | Salinity or temperature mismatch after a water change | Test and match new water before adding it next time |
| Green, slimy film on surfaces | Algal or bacterial overgrowth from excess nutrients | Reduce feeding frequency; full sterilization if recurring |
Hatch failure is the most frustrating problem because it looks identical whether the cause is bad eggs, wrong salinity, or contaminated water. A university thesis on brine shrimp hatch failure singles out heavy metal contamination in source water, particularly copper, lead, and zinc from tap plumbing or well sources, as an overlooked but frequent culprit. If salinity and temperature both check out and hatching still fails repeatedly, test your source water or switch to an RO/DI blend before assuming the cysts themselves are bad.
Overfeeding recovery follows a simple rule: when in doubt, feed less and change more water. A culture that's fouled but still has live shrimp swimming usually recovers with two consecutive partial water changes and a day of reduced feeding. A culture with a strong sulfur smell or a film of dead shrimp on the bottom is past recovery, and starting fresh in a sterilized vessel beats hours spent trying to save it.
Why Farmed, Microalgae-Fed Shrimp Simplify the Whole System
Wild-harvested brine shrimp carry whatever nutrition they scavenged from their native salt lake, which swings with the season and sometimes leaves them nutritionally thin from natural starvation cycles.
That consistency changes how much work your holding system has to do. Instead of guessing at enrichment to compensate for unpredictable wild nutrition, you're starting with shrimp that arrive at a known nutritional baseline:
- Predictable protein content means less enrichment guesswork before feeding to fry or breeders
- A controlled cultivation environment avoids the seasonal variability of wild harvest
- Available as direct-to-consumer live shipments, monthly subscriptions, or bulk orders for stores, museums, and labs
- Fits directly into a two-vessel holding workflow as either a supplement to home hatching or the entire supply chain
Demeterbioscience details the full production model behind this approach, including why algae-fed cultivation outperforms wild harvest on nutritional consistency.
Lighting Conditions That Support Healthy Brine Shrimp Behavior
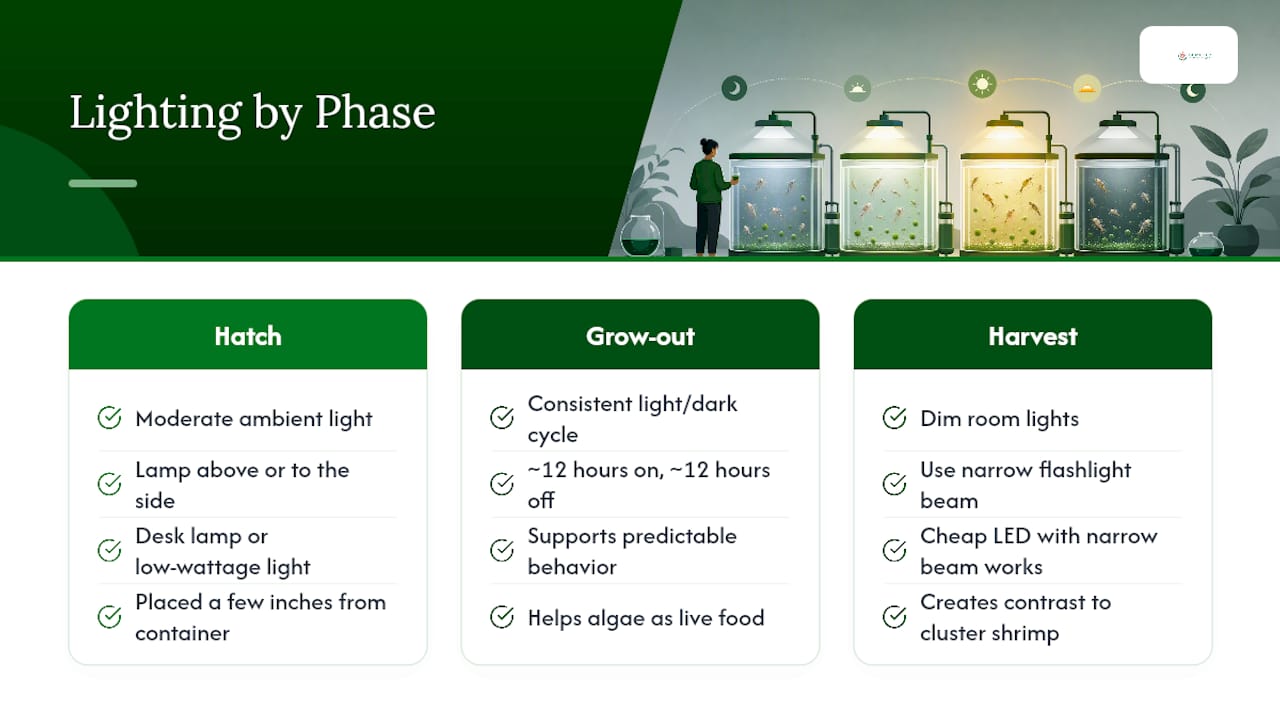
Light does more for brine shrimp than just helping you see them. Nauplii are strongly phototactic, meaning they swim toward a light source, and that behavior is exactly what makes light-based harvesting work. But lighting also affects hatch rate and general activity in ways worth setting up deliberately.
For the hatch phase, moderate ambient light or a dedicated lamp positioned above or to the side of the vessel encourages even distribution of hatching cysts and speeds up the hatch window slightly compared to a dark container. You don't need anything intense: a standard desk lamp or a low-wattage aquarium light held a few inches from the container works fine. Avoid direct, hot sunlight through a window, since it can spike water temperature well past the ideal hatch range and cook a batch by early afternoon.
For grow-out, a consistent light and dark cycle, roughly 12 hours on and 12 off, keeps shrimp behavior predictable and supports any algae you're growing alongside them as a live food source. Constant 24-hour light can stress a culture over time and encourages unwanted algal blooms on container walls.
When it's harvest time, dim the room lights except for your targeted flashlight beam. That contrast is what makes the shrimp cluster tightly enough to net efficiently, since a fully lit room gives them no single point to swim toward. A cheap LED flashlight with a narrow beam outperforms a wide-angle lamp for this specific task.
Quarantine and Acclimation When Adding New Shrimp to a System
Bringing new brine shrimp into an established holding system, whether from a fresh hatch batch, a different vessel, or a shipped order, deserves the same caution you'd apply to any live animal transfer. The risk isn't disease in the traditional sense so much as water chemistry mismatch and contamination carryover.
Start by checking the salinity and temperature of the water the new shrimp are traveling in against your destination vessel. A gap of more than a few ppt or several degrees warrants a slow drip acclimation over 15 to 20 minutes rather than a direct dump. Float a sealed bag or container in the destination water for 10 minutes first if temperature is the main mismatch, then begin slowly mixing destination water in.
Keep new arrivals in a separate holding container for the first day if possible, especially if they're sourced from an unfamiliar hatch batch or a different supplier than usual. This isn't about brine shrimp catching something from each other in the way fish do; it's about giving yourself a chance to spot a bad batch, cloudy water, or a strong die-off, before it reaches your main production vessel and forces a full system reset.
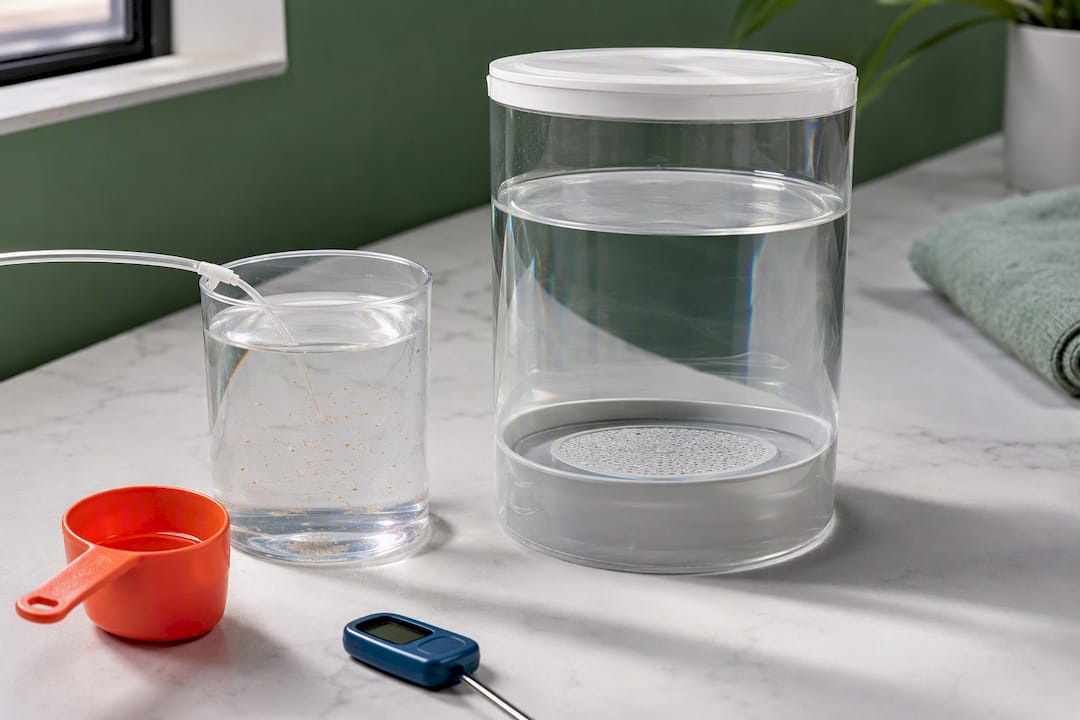
Never pour shipping or transport water directly into your main system. Transport water can carry residue, waste buildup, or salinity far outside your normal range, and it's an easy variable to eliminate by discarding it and acclimating shrimp into fresh, matched water instead.
Watching for Disease and Parasites in Brine Shrimp Cultures
Brine shrimp cultures don't suffer from the same disease pressures as fish tanks, but they aren't immune to problems, and most of what looks like "disease" in a culture is actually a water quality or contamination issue wearing a different face.
A sudden drop in swimming activity, shrimp clustering at the surface or bottom instead of moving through the water column, or a visible color shift toward white or opaque bodies, usually points to bacterial or fungal contamination introduced through overfeeding or a dirty vessel rather than a true pathogen. The fix is the same as for general fouling: reduce feeding, increase water changes, and sterilize the vessel if the problem recurs after a water change.
True parasitic issues are uncommon in a well-run holding system because the culture cycle is short. Most hobbyist and small-lab setups harvest shrimp within days to a couple of weeks of hatching, which doesn't give most parasites time to establish. The bigger risk is cross-contamination between vessels sharing tools, nets, or siphons without rinsing between uses.
Keep a dedicated net and siphon for each vessel if you're running more than one culture at a time, or rinse tools in fresh water between vessels at minimum. Visual inspection under a simple magnifying glass or a phone camera zoomed in catches most early warning signs, discoloration, unusual movement patterns, or debris clinging to shrimp bodies, before a full batch is lost.
Scaling from a Windowsill Culture to Commercial Production
A single shallow dish on a windowsill and a commercial hatchery running dozens of gallons daily share the same basic biology, but the equipment and margin for error change dramatically as volume increases.
At the hobbyist scale, a couple of 5-gallon buckets or a 10-gallon tank with one air pump covers most fry-breeding or small-store needs. The two-vessel rotation method keeps this manageable with maybe 15 minutes of hands-on time a few times a week.
Moving to small-lab or serious store-level production usually means shifting to shallow rectangular tanks, sometimes multiple in a rack, each with its own airstone and a shared pump manifold sized for the combined volume. At this scale, redundancy stops being optional: a single pump failure overnight can wipe out a much larger investment than it would in a single bucket, so backup aeration and a check-valve setup on every line matters more.
Full commercial production, the kind supplying multiple retail accounts or an institutional client base, typically moves away from batch hatching entirely and toward continuous-flow systems with automated feeding and monitoring. That's a different capital and complexity tier than most hobbyists or single-location stores need to consider. For most readers scaling up, the practical ceiling is a well-organized bank of shallow tanks with redundant aeration, run on the same water-parameter and feeding principles as a single bucket, just multiplied.
Safety and Biosecurity Practices for a Holding System
Biosecurity in a brine shrimp system isn't about sterile-room protocols. It's about preventing the handful of real risks that actually cause losses: contaminated source water, cross-contamination between vessels, and chemical exposure from cleaning products.
Test your source water periodically, especially if you're on well water or older plumbing, since metal contamination is a documented and frequent cause of hatch failure that has nothing to do with technique. A basic aquarium test kit for copper covers the most common offender, and an RO/DI unit or a metal-chelating water conditioner solves it cheaply once identified.
Rinse any vessel, net, or tool thoroughly after using bleach or other cleaning agents; even trace residue is enough to wipe out a hatch batch, since brine shrimp cysts are notably sensitive to chemical exposure during hydration. Let bleached containers air dry fully rather than rinsing and immediately refilling, since some residue clings to plastic surfaces longer than a quick rinse removes.
If you're running multiple cultures, whether for different customers, different fish species, or just staggered batches, label containers clearly and avoid sharing siphons or nets without a rinse between uses. It's a small habit that prevents the kind of cross-contamination that turns one bad batch into three.
What Actually Moves the Needle in a Working System
Most guides treat every water parameter as equally critical, but stable salinity and temperature matter more than hitting an exact number. A culture held steady at 16 ppt outperforms one that swings between 12 and 22 ppt chasing precision.
The other underrated lesson: two vessels beat one every time, not for redundancy alone but because it removes the temptation to skip cleaning a container that's still "working fine."
- Match new water to old water before every change, no exceptions
- Feed less than you think you need to
- Keep a spare air pump on hand, not just a spare airstone
— Demeter
Get a Reliable Supply Without Building the Whole System Yourself
Running a full hatch-to-grow-out holding system takes real equipment, daily attention, and a tolerance for the occasional failed batch while you dial in your numbers. Demeterbioscience offers a shortcut: live brine shrimp raised on a consistent Dunaliella microalgae diet, delivered directly instead of hatched from scratch in your own tanks.
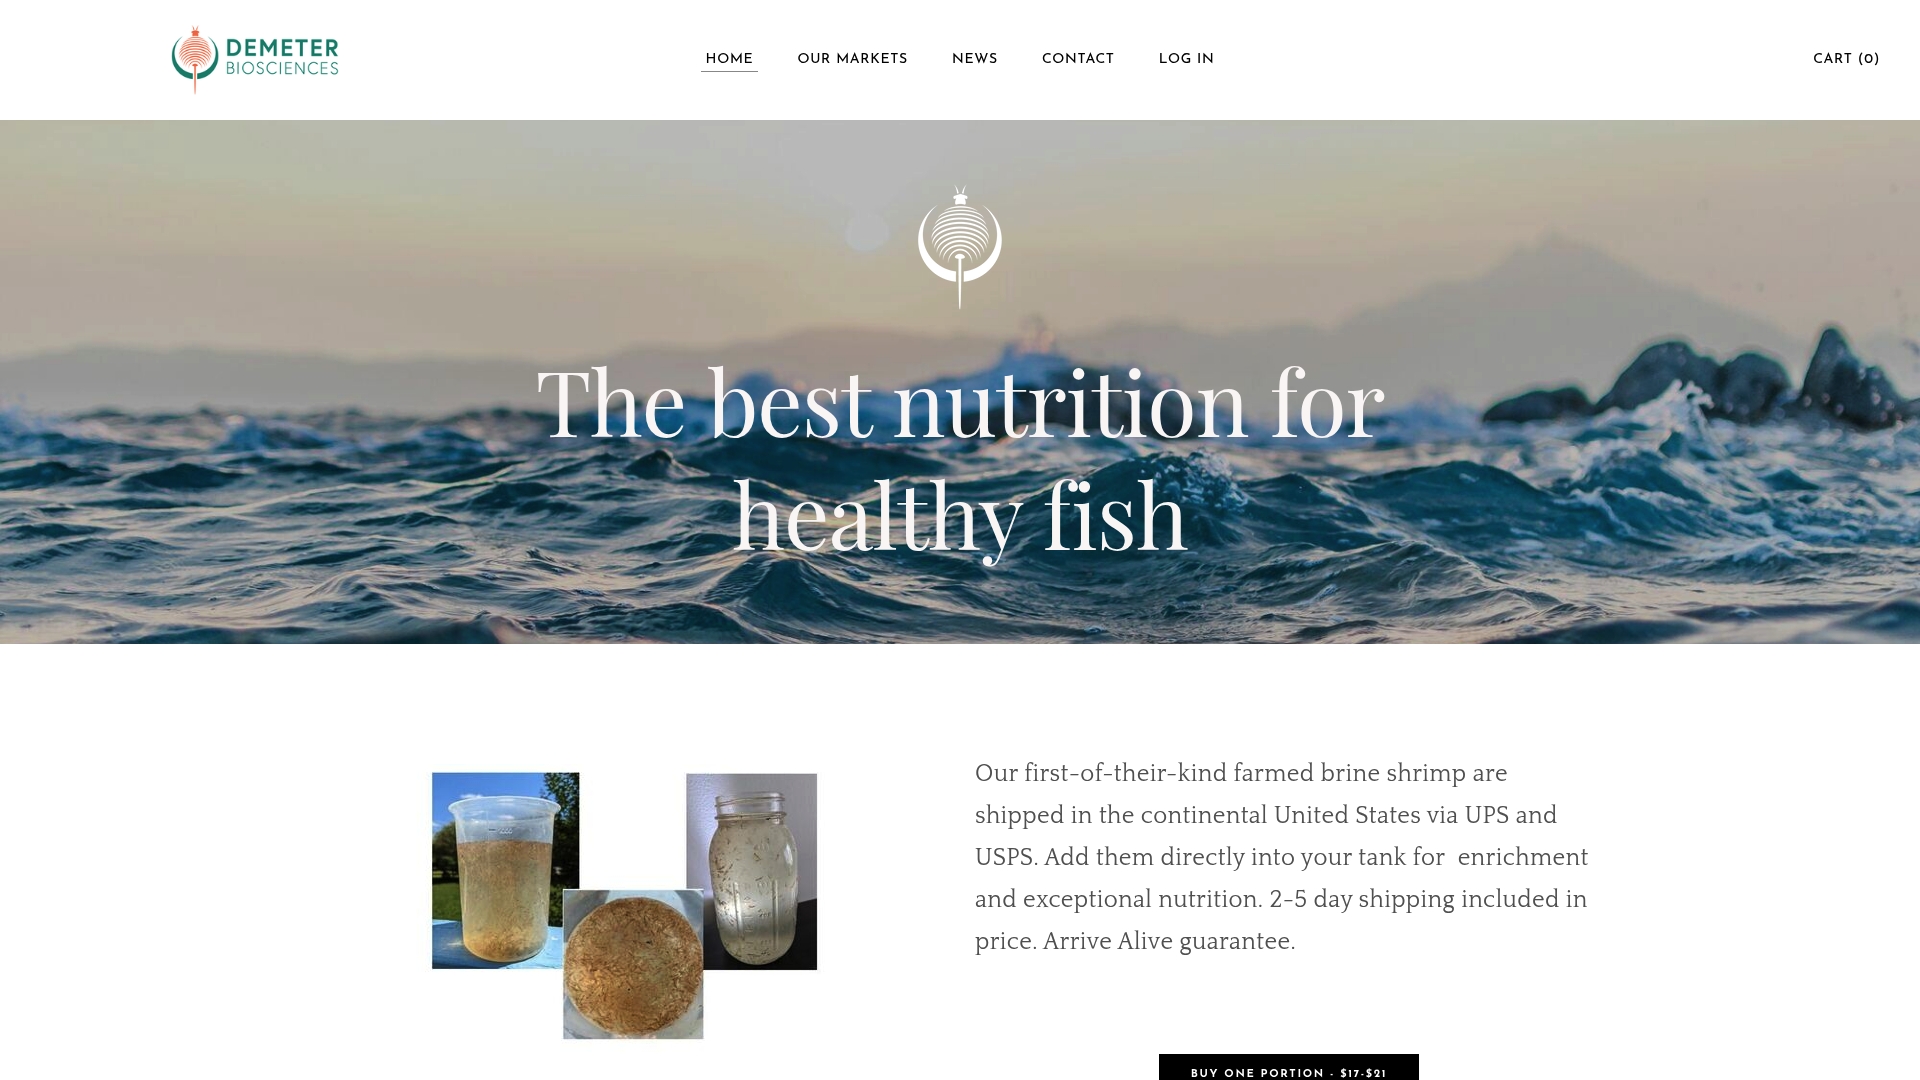
That consistency matters most for readers who need predictable nutrition without babysitting salinity and feeding schedules every day. A monthly subscription keeps a steady supply arriving without you managing a hatch cycle at all, while bulk orders work for stores, museums, or labs that need volume without the labor of scaling their own hatchery. Order live brine shrimp directly, or reach out to talk through subscription or bulk options that fit your specific setup.
Sources
- HATCHING and GROWING BRINE SHRIMP (Artemia) — Diana Walstad
- How to Raise Brine Shrimp From Eggs to Adulthood
- Thesis: Causes of brine shrimp hatch failure (discussing metal toxicity)